



Page Alignment
2 views · updated 6 hours ago
BUTTON USE:
Step 1: To begin, open your project and go into the particular plan view you would like to move or alter. From this step, select the Page Alignment Tool under the BIMeta toolbar.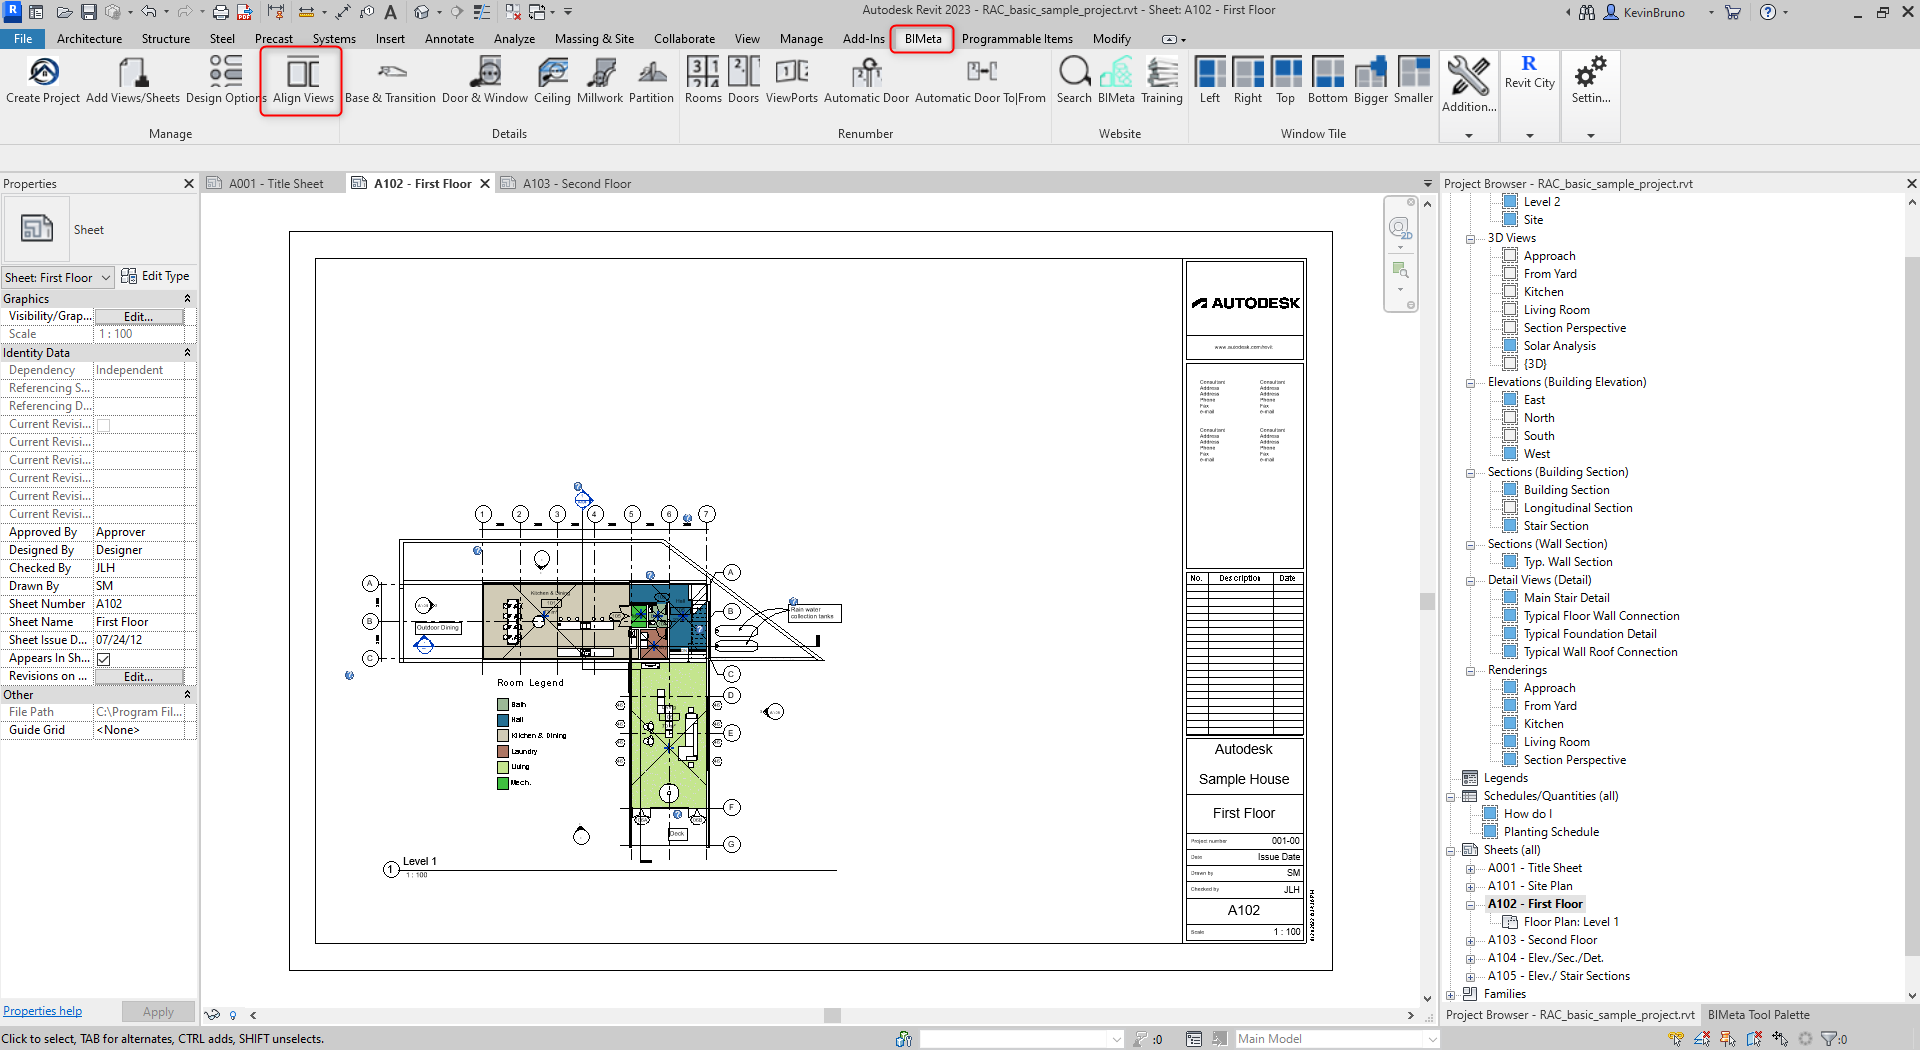
Before beginning the next step, please see the two views we are focused on adjusting per the sheet location.
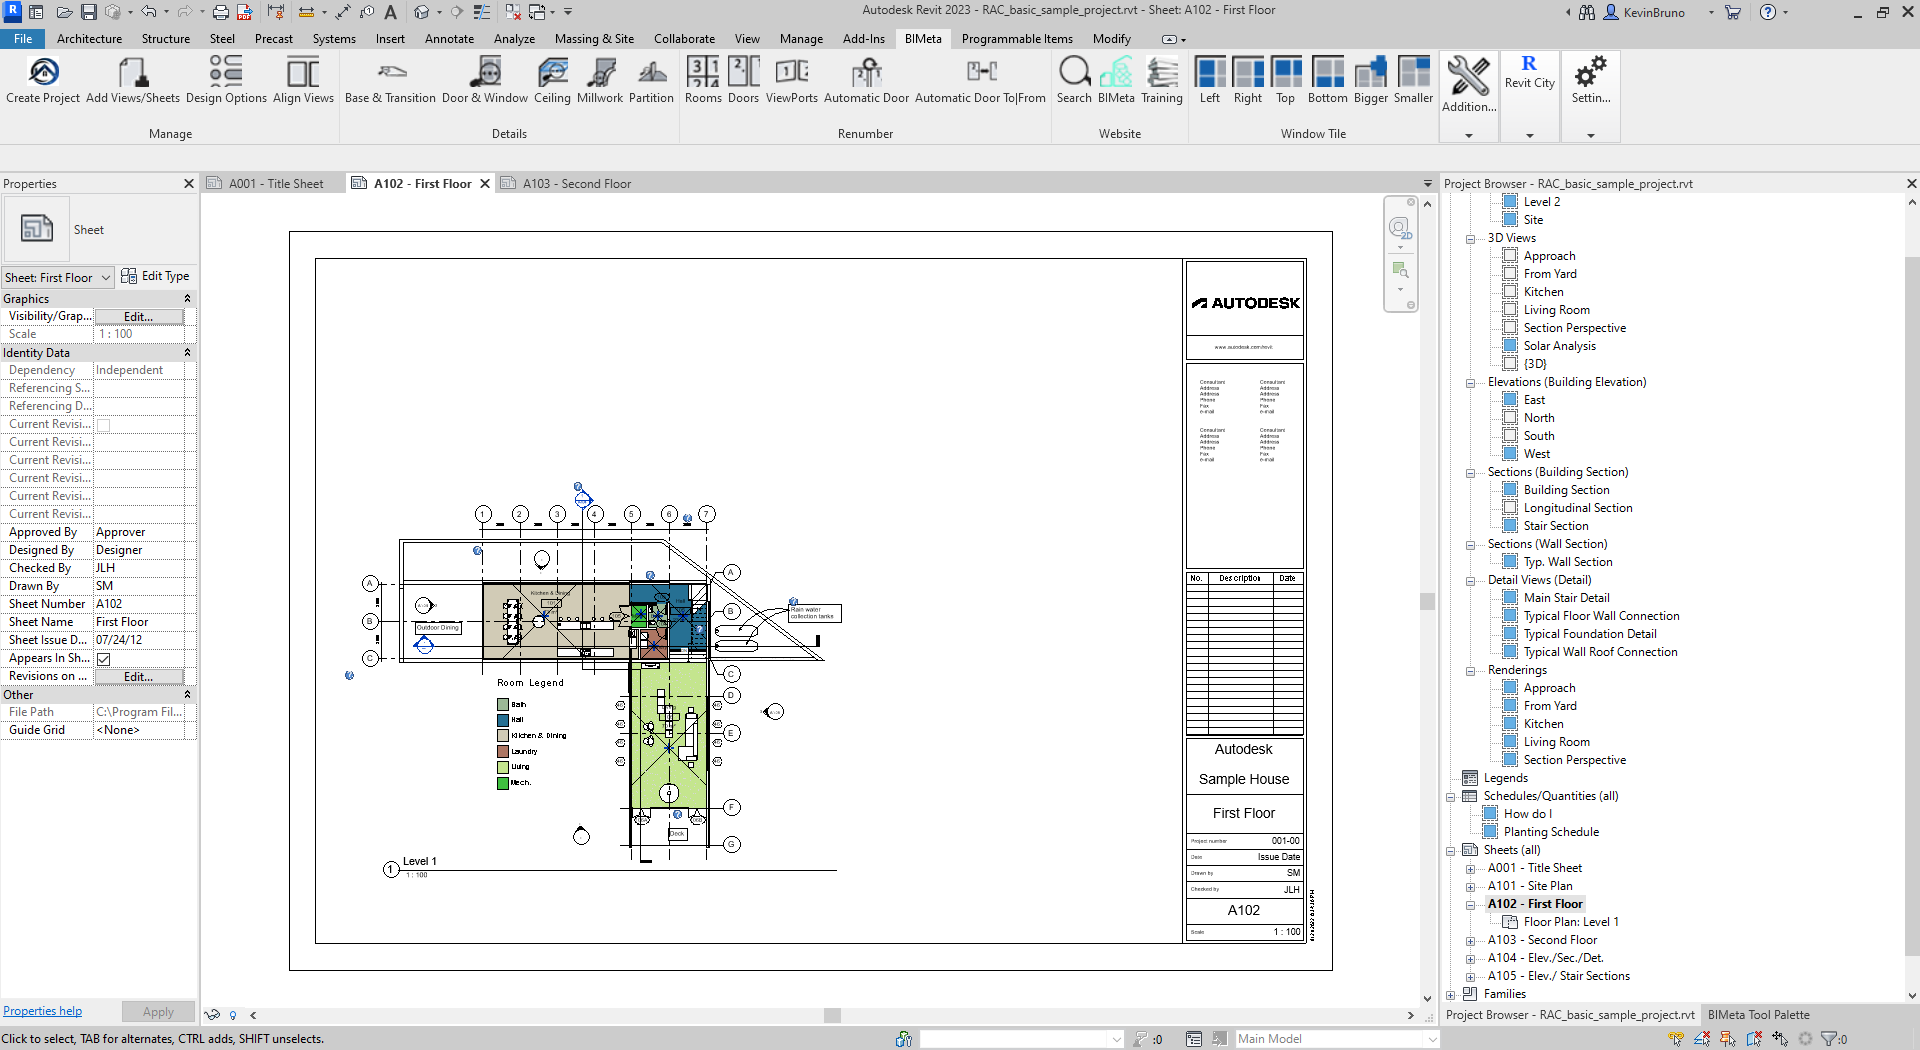
View 1
 View 2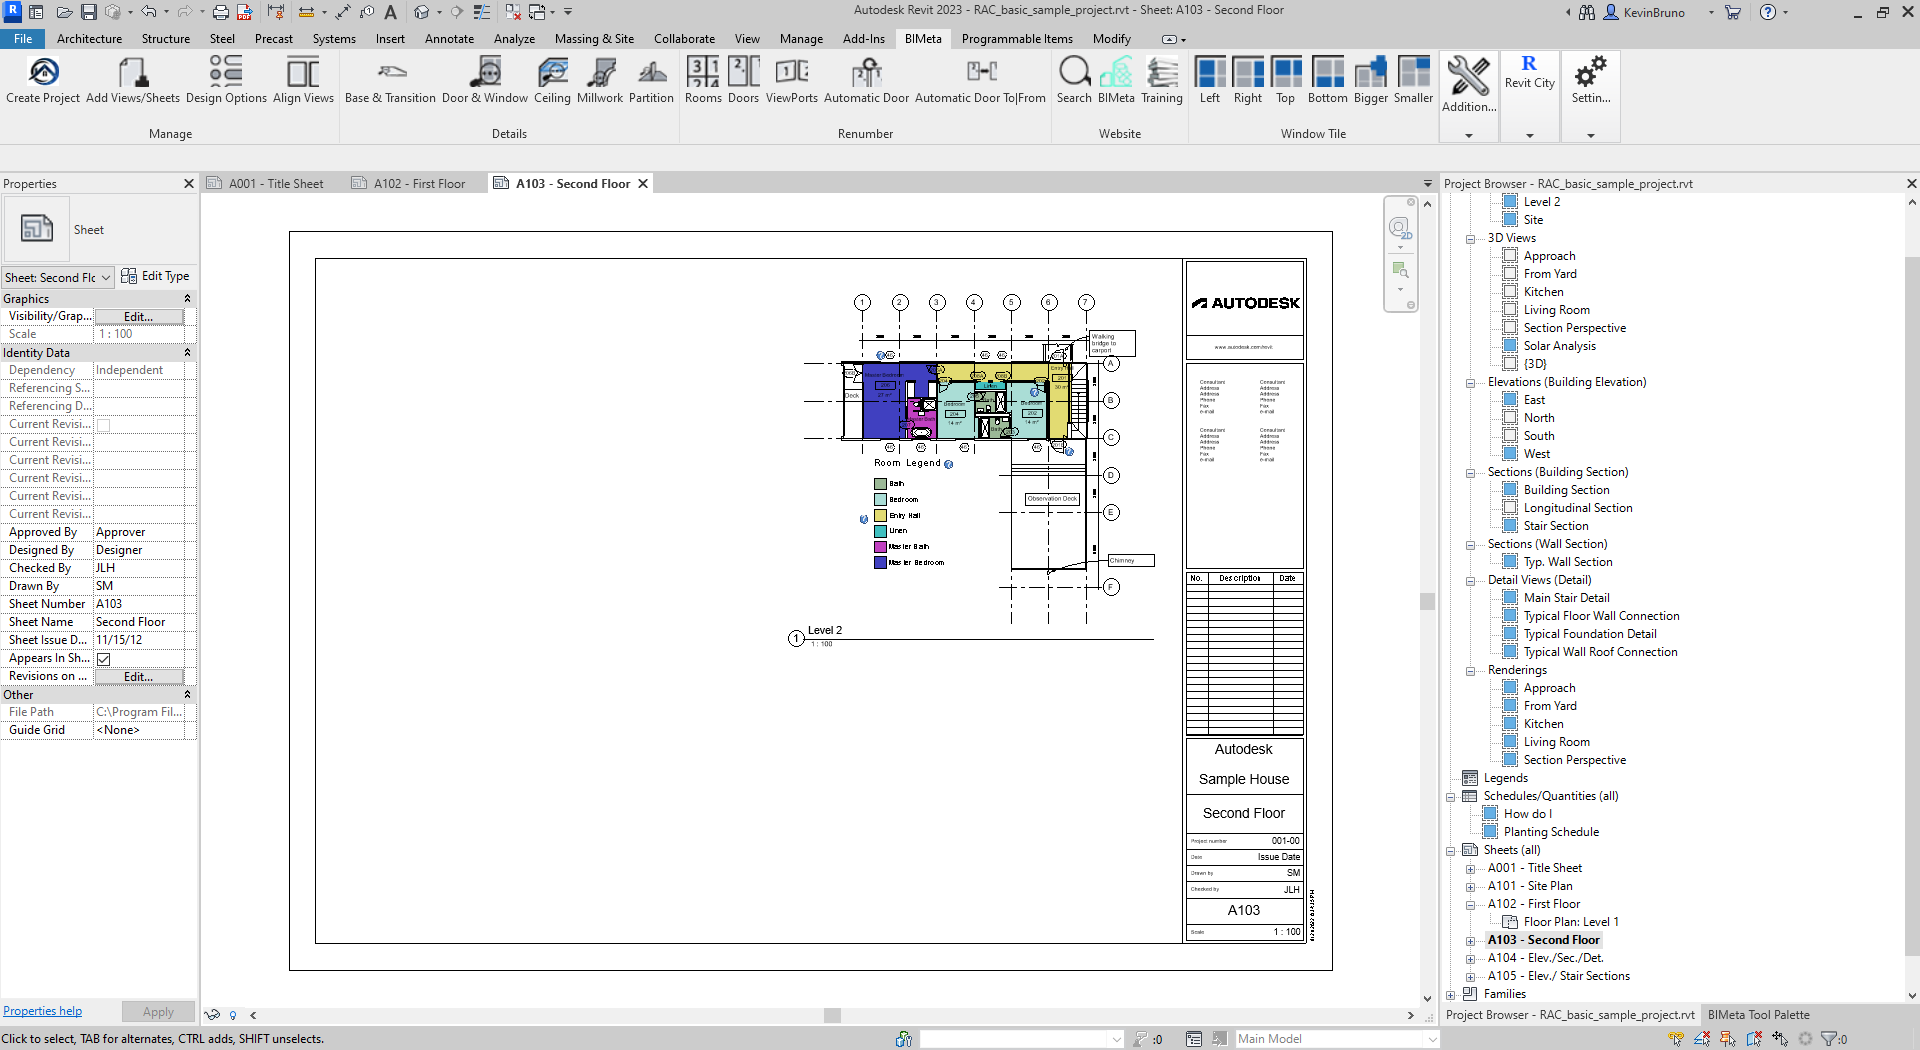
Step 2: Once you have clicked on the Alignment Tool, a prompt will open to allow you to select your Viewport scale. This was purposely made to ensure blow up plans or enlarged plans are not altered if specifically targeting floor plan views.
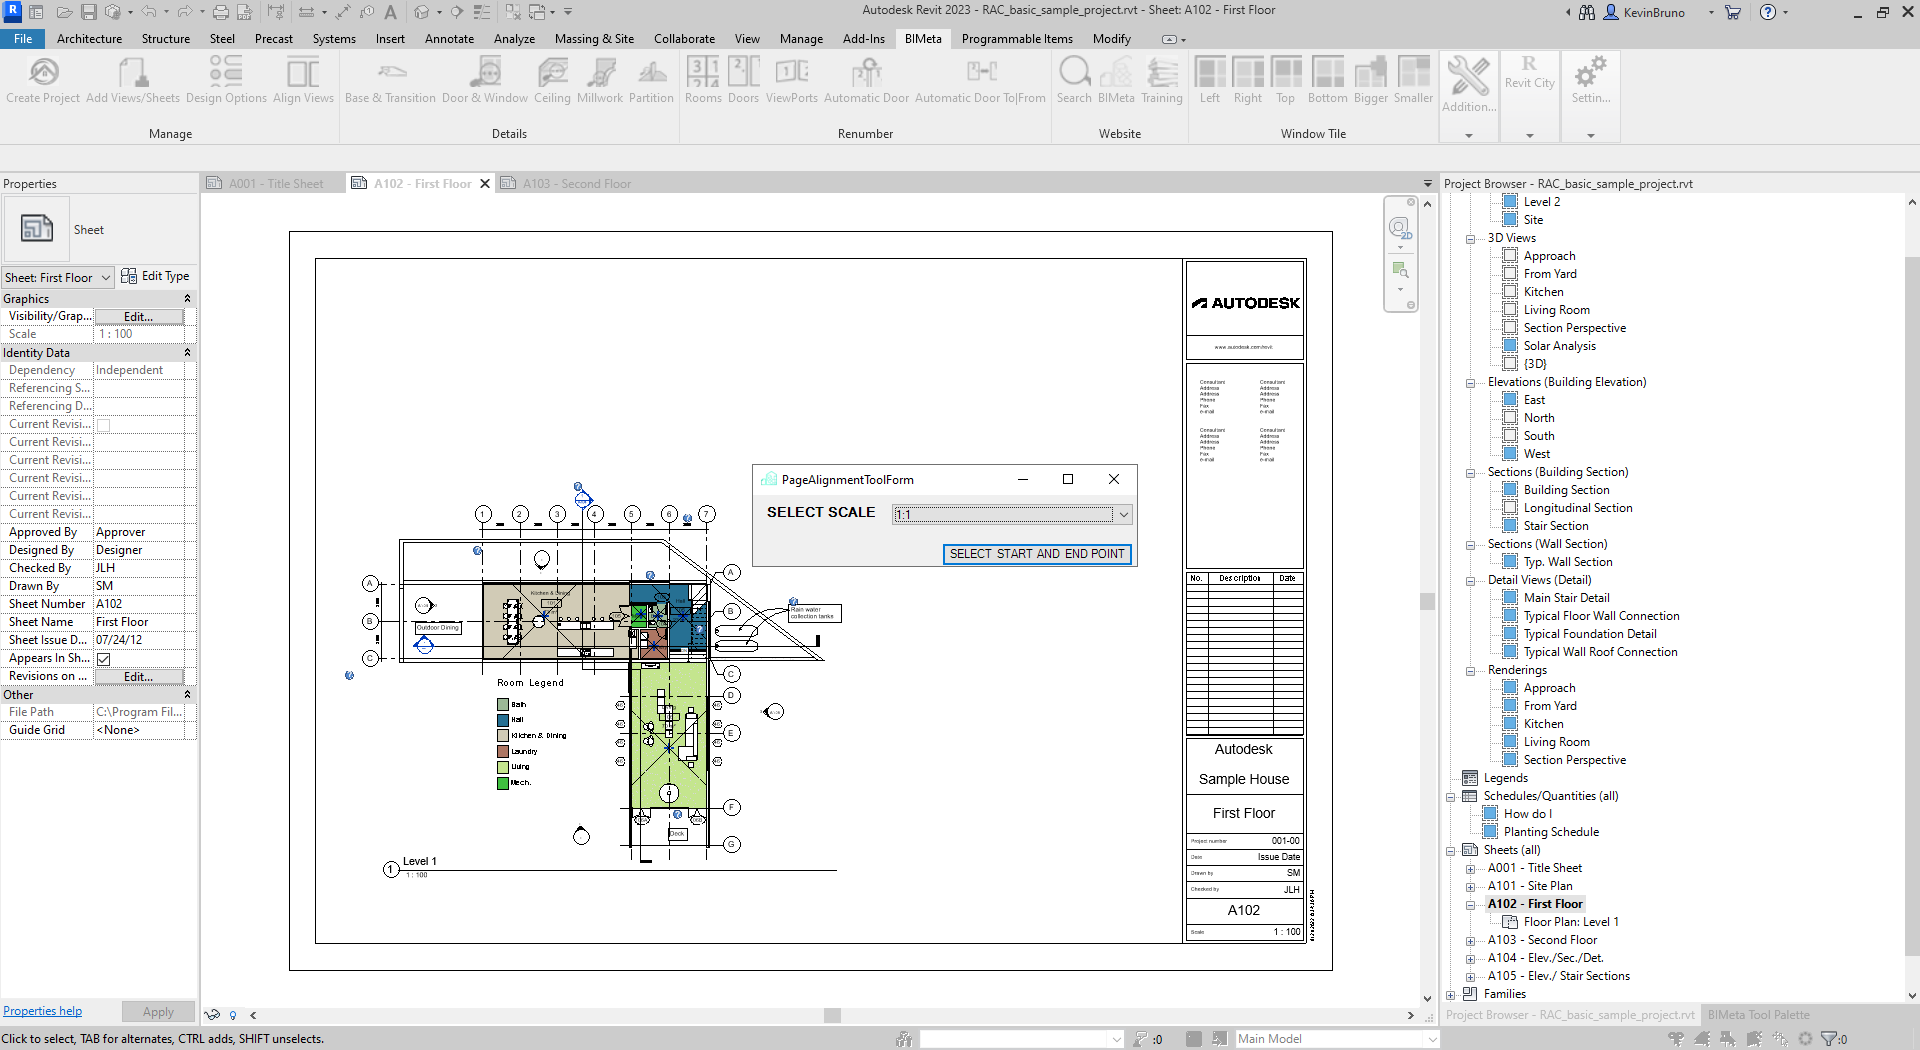
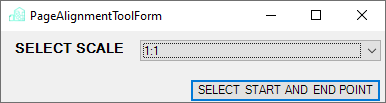
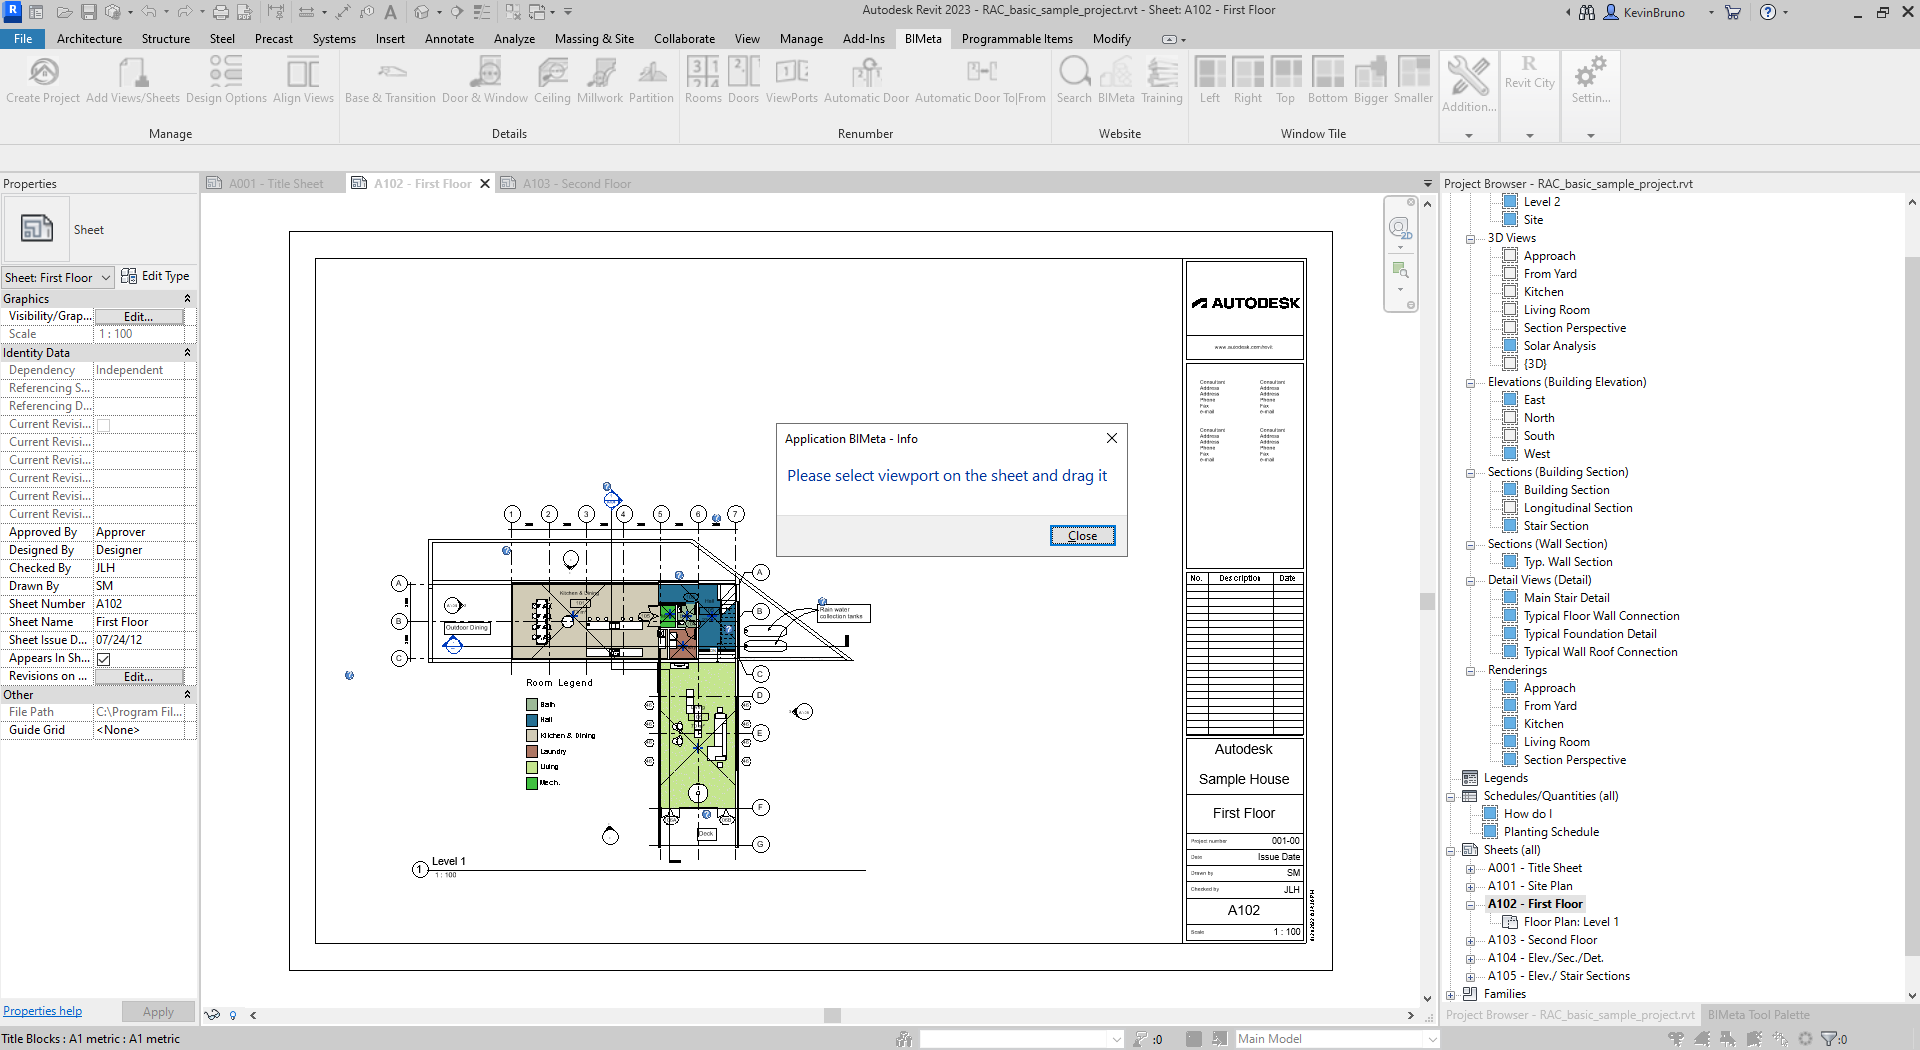
Step 3: Once you have selected a scale and clicked on the “Select Start And End Point”, you may now drag your viewport to the ideal location.
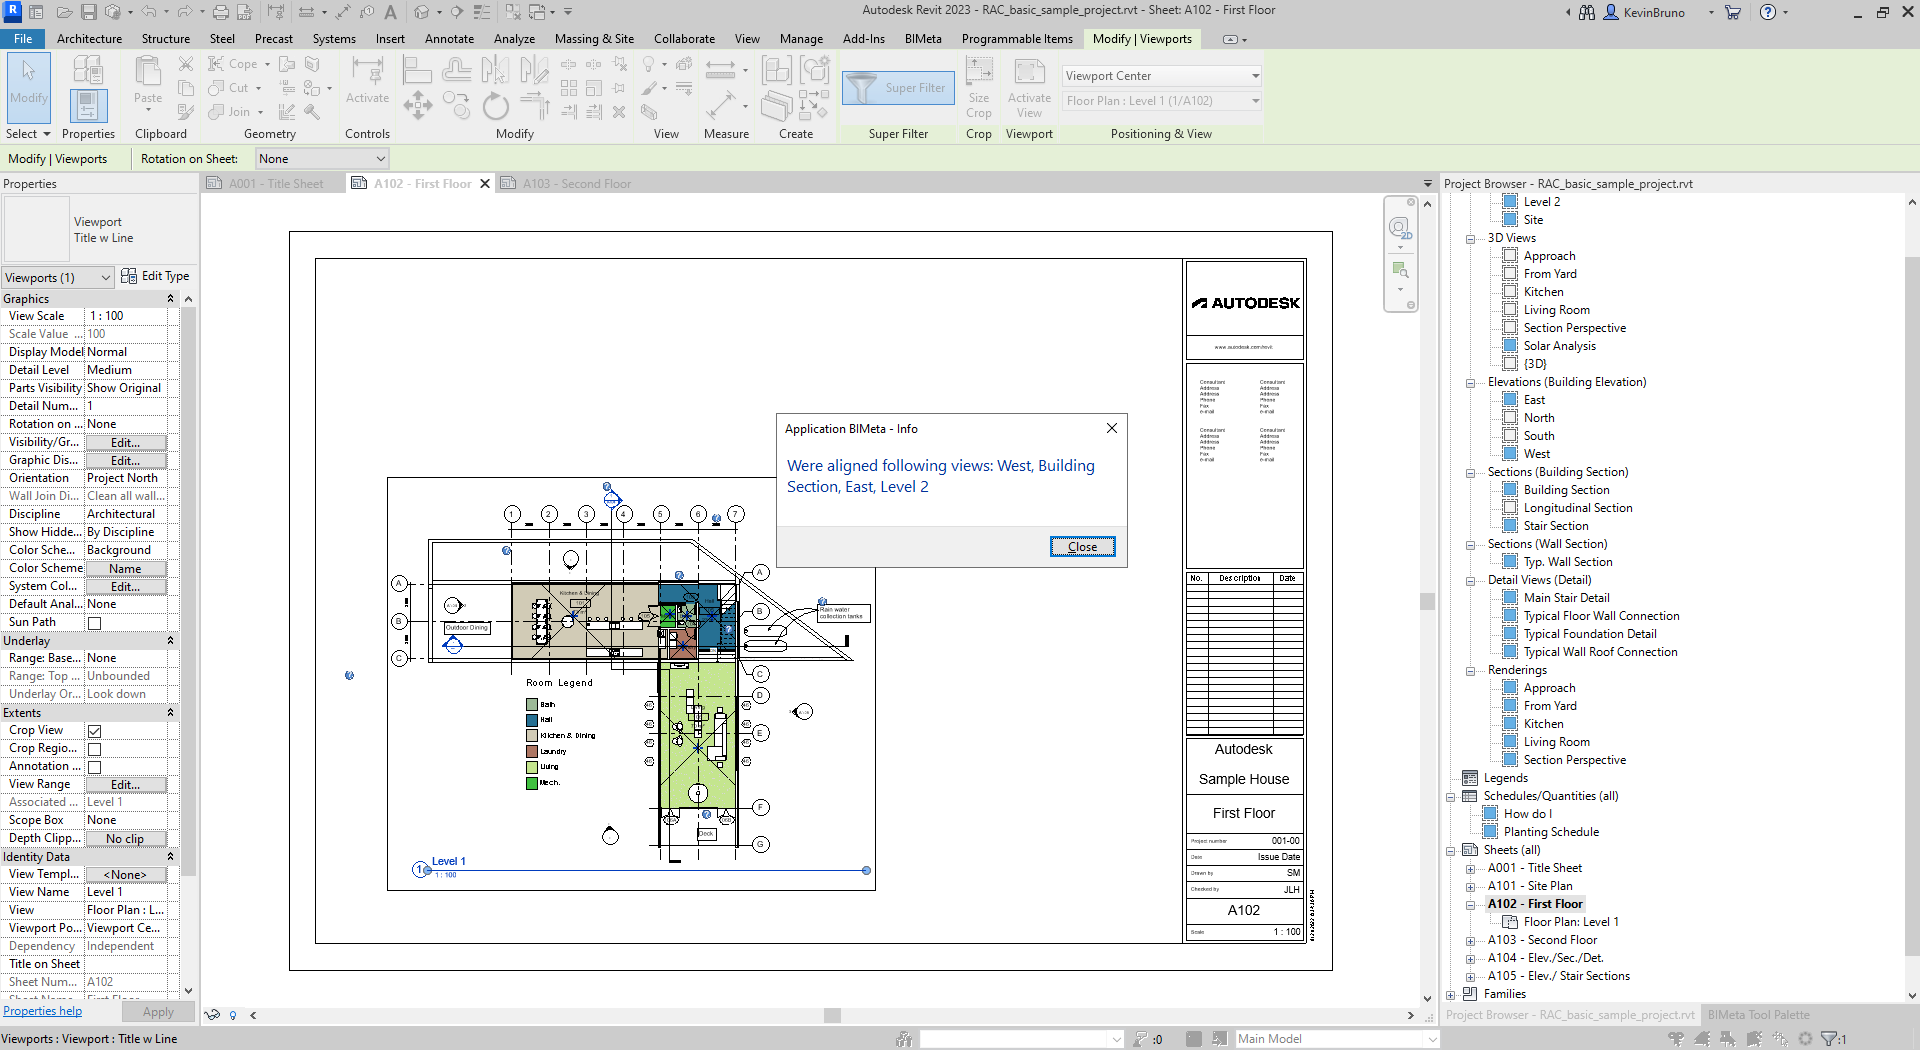
Step 4: Finally, once you have click and dragged your viewport over to the ideal location, you will be able to check your views to see the alignment for all applicable scale viewports. See the example below:
Was this article helpful?
Share