Scans: the reality capture register
18 views · by Kevin J Bruno · updated 5 days ago
Reality capture means recording existing conditions digitally: a laser scanner produces a point cloud (millions of measured points) of an existing building, a 360° camera captures panoramic photos of every room, a drone surveys a site from the air, and photogrammetry builds a 3D mesh from overlapping photos. These datasets are large, expensive to produce and easy to lose track of. The Scans tab is the project's register of them: what was captured, when, by whom, in what format and coordinate system, how big it is and where the files actually live. It records information about each capture; it doesn't store the scan files themselves.
Where to find it
Open a project, choose the Design and BIM group, then the Scans tab.
Who can use it
- Everyone who can open the project can see the register.
- Adding, editing and removing entries needs permission to edit the project: Business Owners, Admins, IT Staff, BIM Managers and Project Managers, plus the Project Manager, Project Architect and Designer roles on the project.
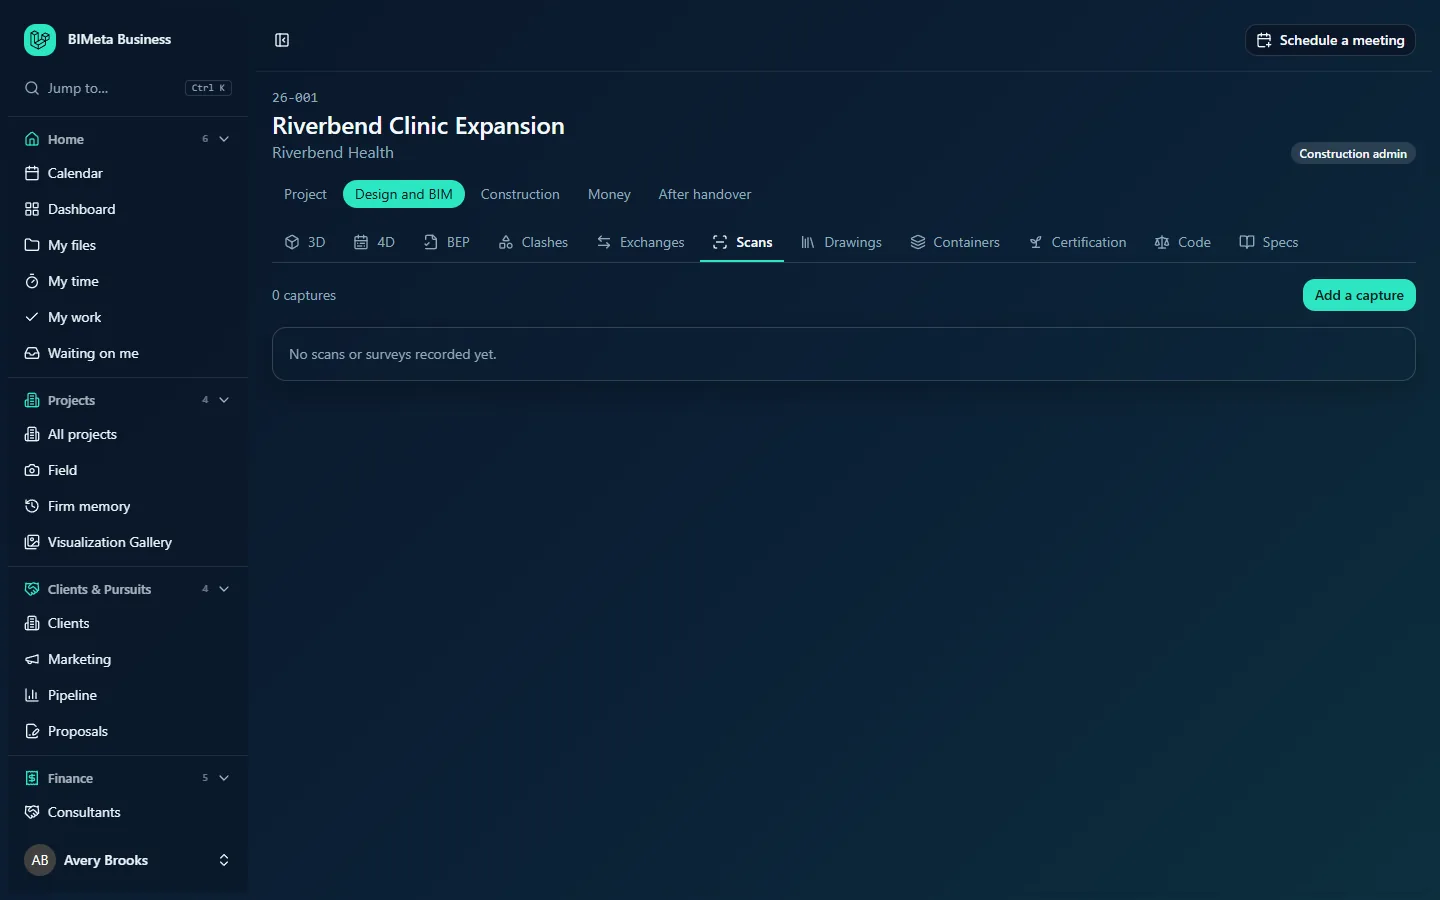
A tour of the page
- Summary: the number of captures (e.g. "0 captures", "1 capture") and the total size ("n GB in all").
- Add a capture (editors).
- The register: each capture with its title, kind, date captured, who captured it, format, coordinate system, size in GB, where the files live and notes, with Edit and Remove for editors.
With nothing yet: No scans or surveys recorded yet.
How to …
Add a capture
- Click Add a capture.
- Fill in:
- Title (required, up to 160 characters), e.g. Existing level 2 scan.
- Kind (required): Laser scan (point cloud), 360° photos, Drone survey, Photogrammetry mesh, Mobile scan or Other.
- Captured on: the date.
- Captured by (company or person) (up to 160 characters).
- Format: RCP / RCS, E57, LAS / LAZ, PTS / PTX, OBJ, FBX, JPG / 360 or Other.
- Coordinate system (up to 200 characters), e.g. the survey grid or the project's shared coordinates, so it lines up with the models.
- Size (GB).
- Where the files live (folder or link) (up to 500 characters): a path on the project's files, a server folder or a link to the scanning company's portal.
- Notes (up to 1,000 characters).
- Click Add to the register (or Cancel). You'll see "Saved".
Edit or remove a capture
- Click Edit, change the fields and click Save.
- Click Remove and confirm ("Remove this capture from the register? The files themselves stay where they are."). You'll see "Removed from the register".
Tips and good to know
- Always record the coordinate system. A scan in the wrong coordinates is the most common reason a point cloud won't line up with the model.
- Large point clouds are usually kept on a file server or the scanning company's portal; put the exact location in Where the files live so anyone can find them years later.
- Record the scans in the BEP's notes too if the contract requires them.
Troubleshooting
"Give the capture a title and choose what kind it is."
Title and Kind are both required.
I don't see Add a capture.
You need permission to edit the project. Ask the project manager for a project role that can edit.
Was this article helpful?
Share