


4D: link the construction schedule to the model
17 views · by Kevin J Bruno · updated 5 days ago
The 4D tab connects the construction schedule to the model. You import the schedule from Primavera P6 or Microsoft Project, tell BIMeta which storey and which kind of elements each activity builds, and then play the sequence in the 3D tab to watch the building go up activity by activity. It's useful for constructability reviews, client presentations and spotting sequencing problems.
Where to find it
Open a project and choose Design and BIM → 4D.
Who can use it
- Everyone who can see the project can see the schedule and play it in 3D.
- Importing, linking activities and removing the schedule need permission to edit the project: Business Owner, IT Staff, BIM Manager, Admin and Project Manager roles, or a project role of Project Manager, Project Architect or Designer. Others see the links greyed out and no import form.
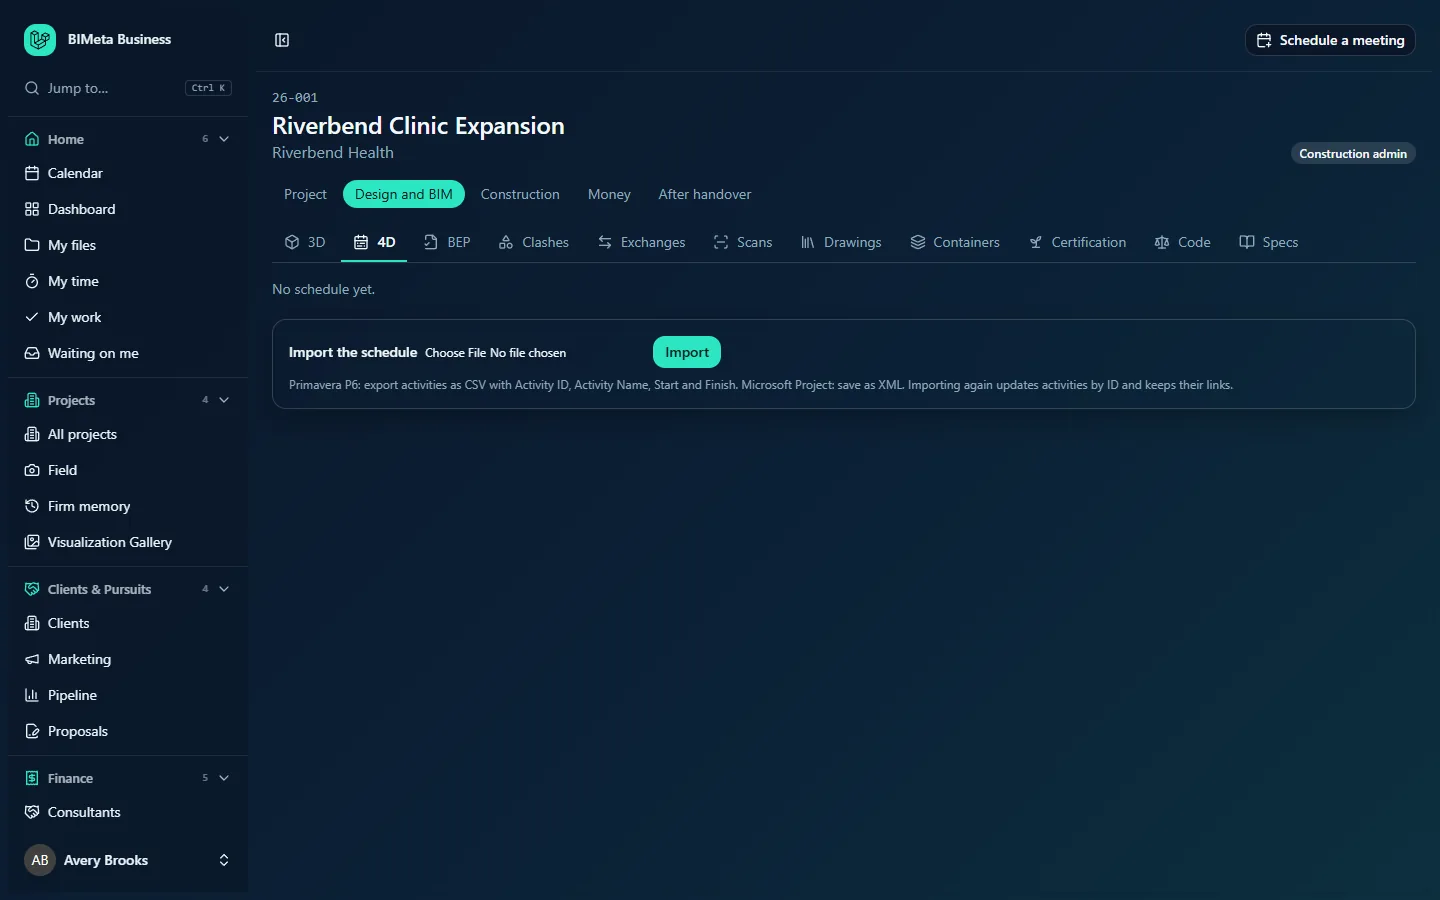
A tour of the page
Summary line
"n activities, m linked to the model" (or "No schedule yet."), with Play in 3D (opens the 3D tab in play mode) once there's a schedule.
Import
Import the schedule (or Import an updated schedule once one exists): choose a file and click Import. The help text says: Primavera P6: export activities as CSV with Activity ID, Activity Name, Start and Finish. Microsoft Project: save as XML. Importing again updates activities by ID and keeps their links.
Remove the schedule, below the activities for editors, deletes the whole schedule.
Activities table
| Column | What it is |
|---|---|
| Activity | The activity ID and name, e.g. A1040 Level 2 slab. |
| Start / Finish | The activity's dates. |
| Storey | Which storey it builds. Type it, or pick from storeys already used; leave it empty for Every storey. |
| Builds | What kind of elements it builds: Not linked, Everything, Structure, Walls, Floors and roofs, Doors and windows, Ducts, Pipes, Cable trays and electrical, Fire protection or Mechanical equipment. |
Without a schedule, the summary line reads "No schedule yet." and only the import form is shown.
How to …
Import the schedule
- Export from Primavera P6 as CSV (with Activity ID, Activity Name, Start and Finish columns) or save from Microsoft Project as XML. The file can be up to 20 MB.
- Click Import the schedule, choose the file and click Import. You'll see "Schedule read: n added, m updated".
Link activities to the model
- For each activity, type the Storey (it saves when you leave the box) and choose what it Builds (saves at once).
- Leave activities that don't build anything (procurement, inspections) as Not linked.
Play the sequence
- Click Play in 3D. The 3D tab opens and plays the linked activities in date order.
Update the schedule
- Import the new export. Activities are matched by their ID, so dates update and your links stay.
Tips and good to know
- Storey names should match the storey names in the IFC model, e.g. Level 2.
- The element groups are the same groups used by clash rules on the Clashes tab.
- Remove the schedule deletes all activities and their links; import again to start over.
Troubleshooting
The import added nothing.
Check the file has the Activity ID, Activity Name, Start and Finish columns (CSV) or is a Microsoft Project XML file.
Play in 3D shows nothing building.
Make sure activities are linked (Builds isn't Not linked) and the storey names match the model's.
Was this article helpful?
Share