Guided onboarding: your firm's first sign-in
20 views · by Kevin J Bruno · updated 3 days ago
When a new firm signs up for BIMeta Business, its Business Owner is guided through the setup before the portal opens: a welcome screen, every Setup step in order (with a short introduction to each of the four sections), and a thank-you screen at the end. Until this guided onboarding is finished, the portal shows only these pages, without the sidebar, so nothing important is missed. It takes about ten minutes.
This article walks through each screen, what you can and can't do along the way, and what your team sees while you're setting up. The individual steps are explained in the Setup articles, starting with Setup: get your portal ready (overview, language, plan and appearance).
Where to find it
- You don't open it from a menu: the first time the Business Owner of a new firm signs in, the portal opens on the welcome screen.
- If you leave part way through, signing in again (or opening any page of the portal) brings you back to the welcome screen, which carries on from the first step you haven't finished.
- Firms that were already using BIMeta Business before guided onboarding was introduced don't go through it; they use Admin → Settings → Firm setup → Setup as before.
Who can use it
- Business Owners (and anyone with an Admin role, who can run Setup too) go through the onboarding. Only an Owner can choose and pay for the plan in step 2; an Admin sees the current plan and a Continue button.
- Everyone else who signs in before onboarding is finished, for example people the Owner already invited, sees a waiting screen until the portal opens (see What your team sees meanwhile below).
The welcome screen
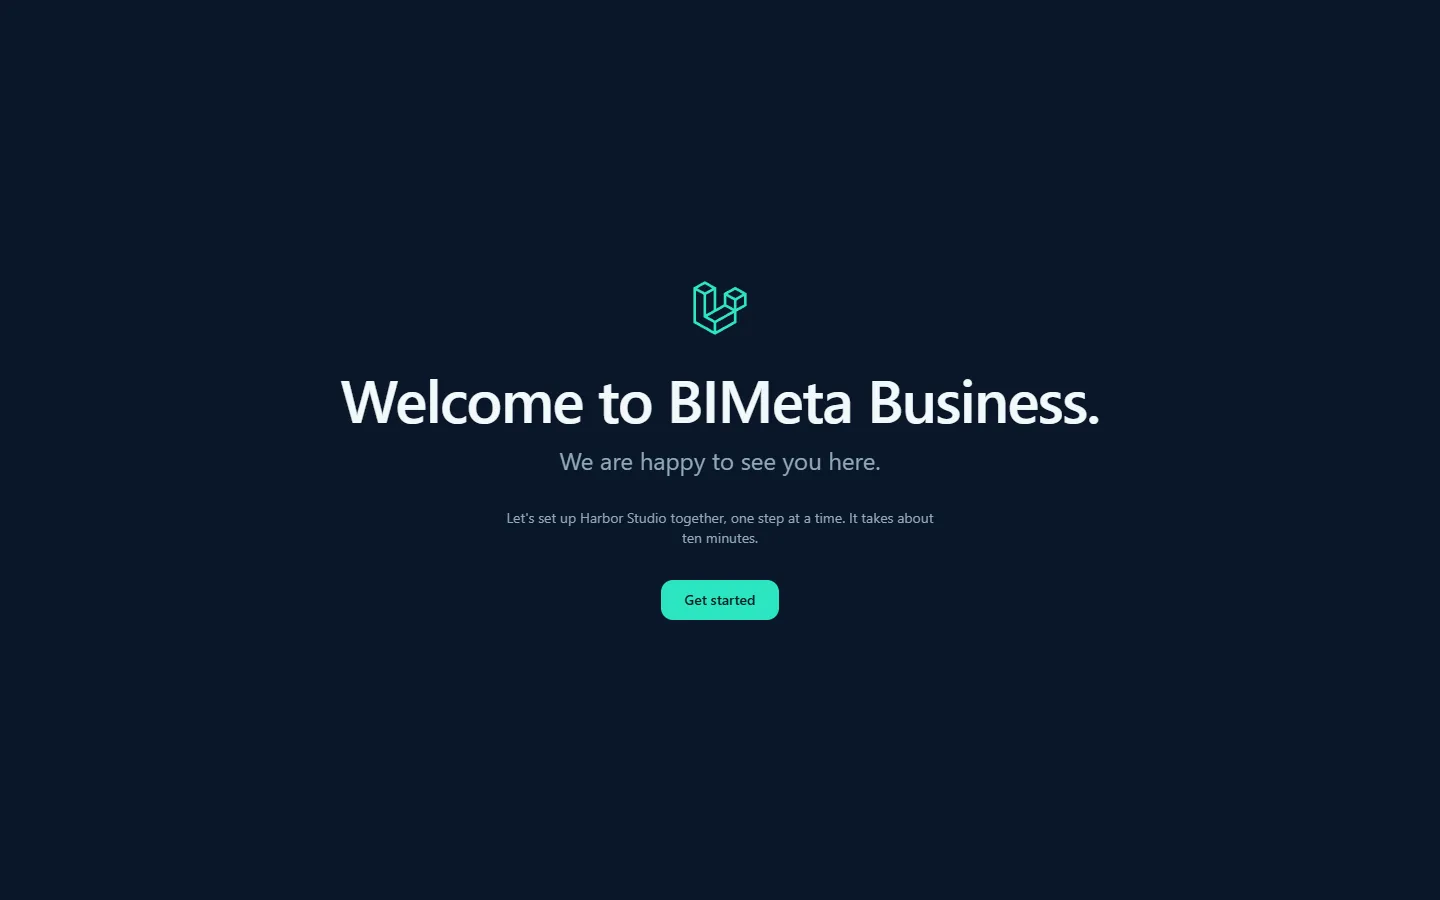
The welcome fades in line by line: the BIMeta Business logo, Welcome to BIMeta Business., We are happy to see you here. and then Let's set up [your firm] together, one step at a time. It takes about ten minutes. Click Get started to open step 1, Language.
If you've already started, the line reads Let's carry on setting up [your firm] where you left off. and the button is Continue, which opens the first step you haven't saved or skipped.
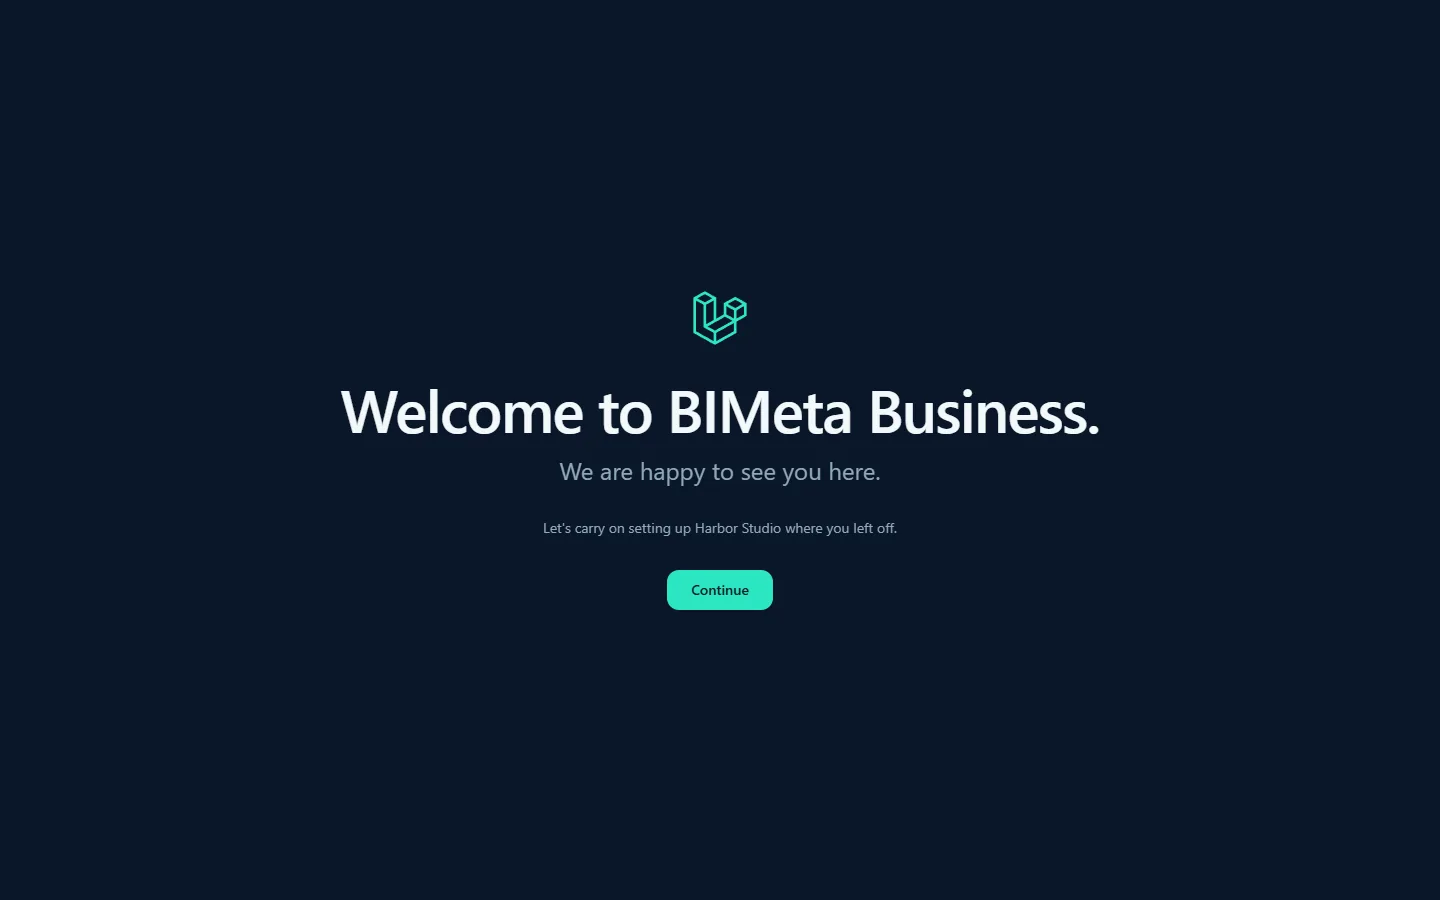
BIMeta can design its own welcome and thank-you screens (with headings, text, pictures, buttons and dividers), so yours may look different from the screenshots. They always greet your firm by name, and the main button always takes you to your next step.
The Setup steps during onboarding
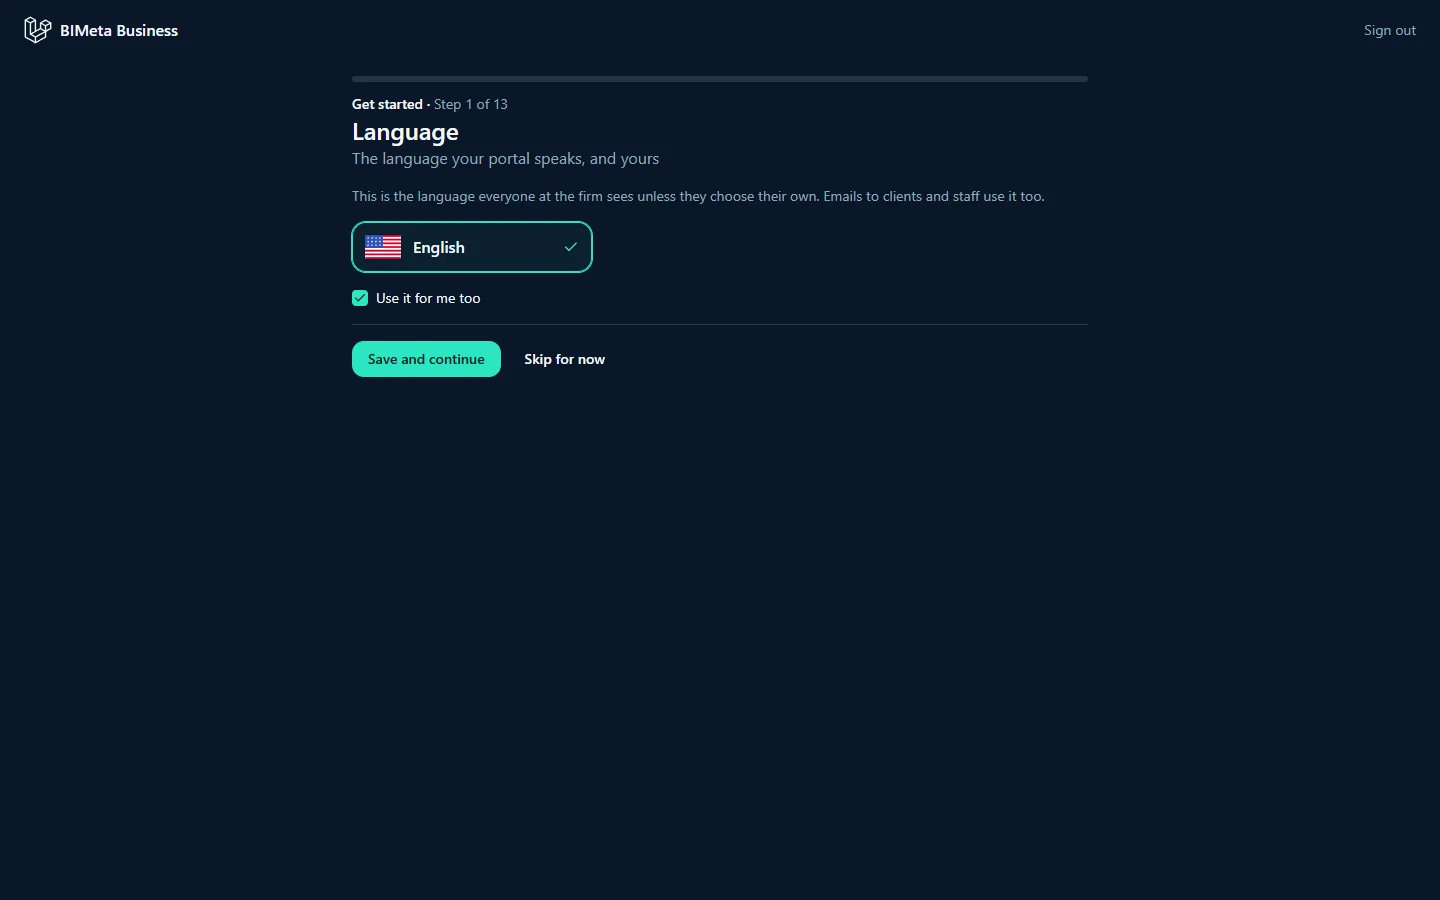
The 13 Setup steps are the same as at any other time, with a few differences while onboarding:
- There's no sidebar and no step list. A bar at the top shows BIMeta Business on the left and Sign out on the right.
- A progress bar runs across the top of each step and fills as you go.
- Above the title you see the section and position, for example Get started · Step 1 of 13.
- You go one step at a time, in order. You can go back to a step you've finished, but you can't jump ahead: opening a later step takes you to the first one you haven't finished.
- Each step has Save and continue and Skip for now as usual. Skipping is fine; you can come back to any step later in Setup.
- Step 3, Background check, can't be skipped while your firm needs a check. You can carry on once both checks have passed or are with BIMeta's reviewers; the portal itself opens when they pass. See Setup step 3: Background check (verify your identity and business).
- Step 2, Plan & storage: if payment is needed you go to the secure checkout and come back to step 3 afterwards.
Section introductions
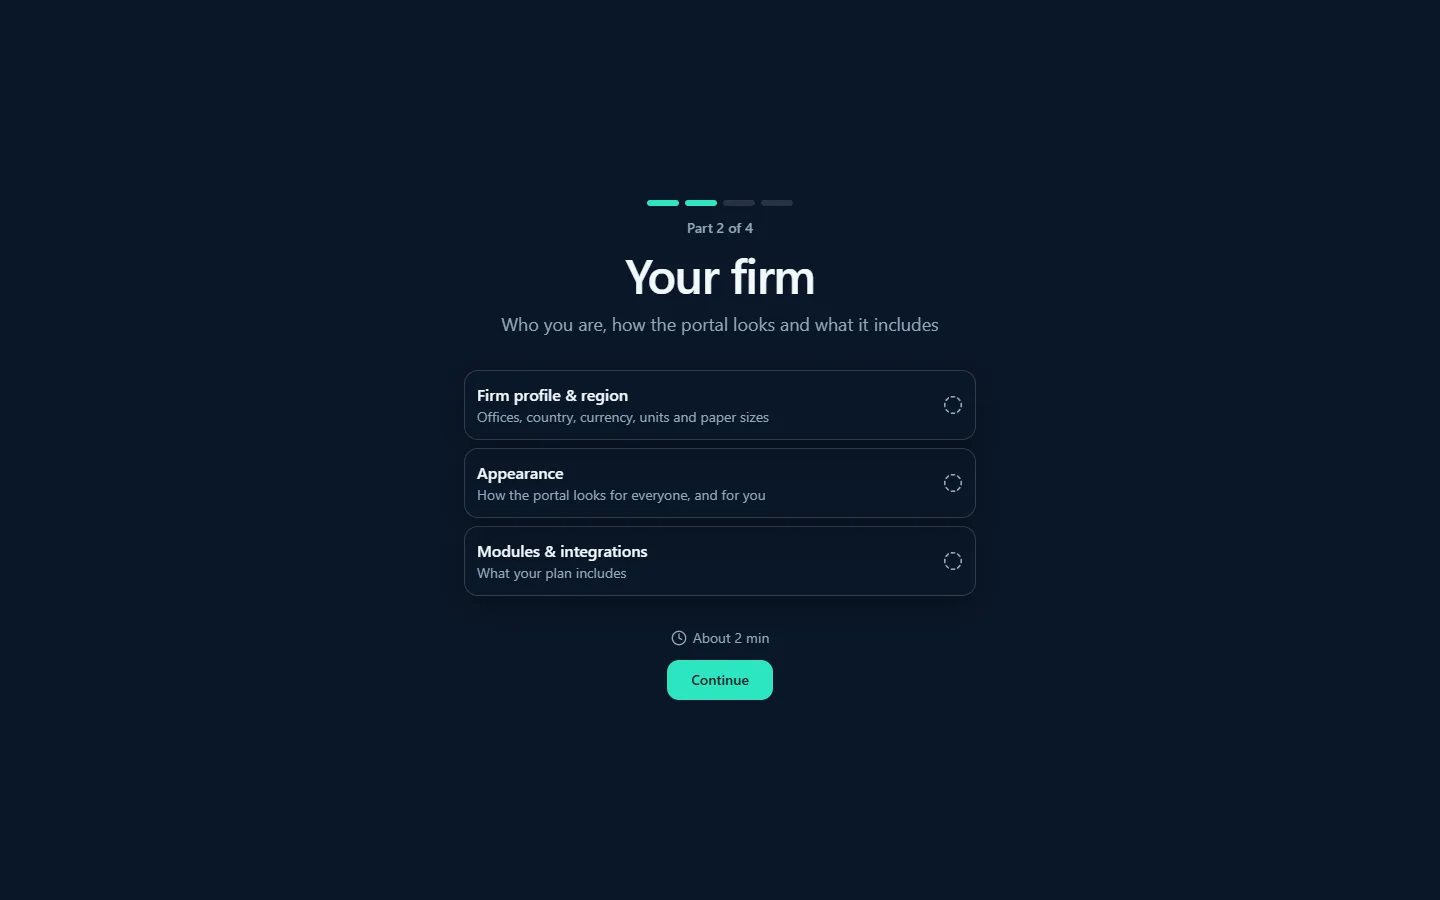
When you finish the last step of a section, the next section opens with a short introduction that fades in: a row of four bars with the current part highlighted, Part 2 of 4 (for example), the section's name and description, the list of its steps with their done, skipped or not-started icons, and an estimate of the time it takes. Click Continue to open the section's first unfinished step.
| Part | Section | Steps | About |
|---|---|---|---|
| 1 | Get started: your language, plan and background check | Language, Plan & storage, Background check | 3 min |
| 2 | Your firm: who you are, how the portal looks and what it includes | Firm profile & region, Appearance, Modules & integrations | 2 min |
| 3 | Project standards: how every new project is numbered, named and filed | Project numbering, Phases & fee split, Sheet, file & model naming, Document numbering, Project folders & app bindings | 4 min |
| 4 | Your team: who can do what, and who works here | Roles & permissions, Invite your team | 1 min |
Part 1 has no separate introduction: the welcome screen leads straight into it.
Use recommended settings (Project standards)
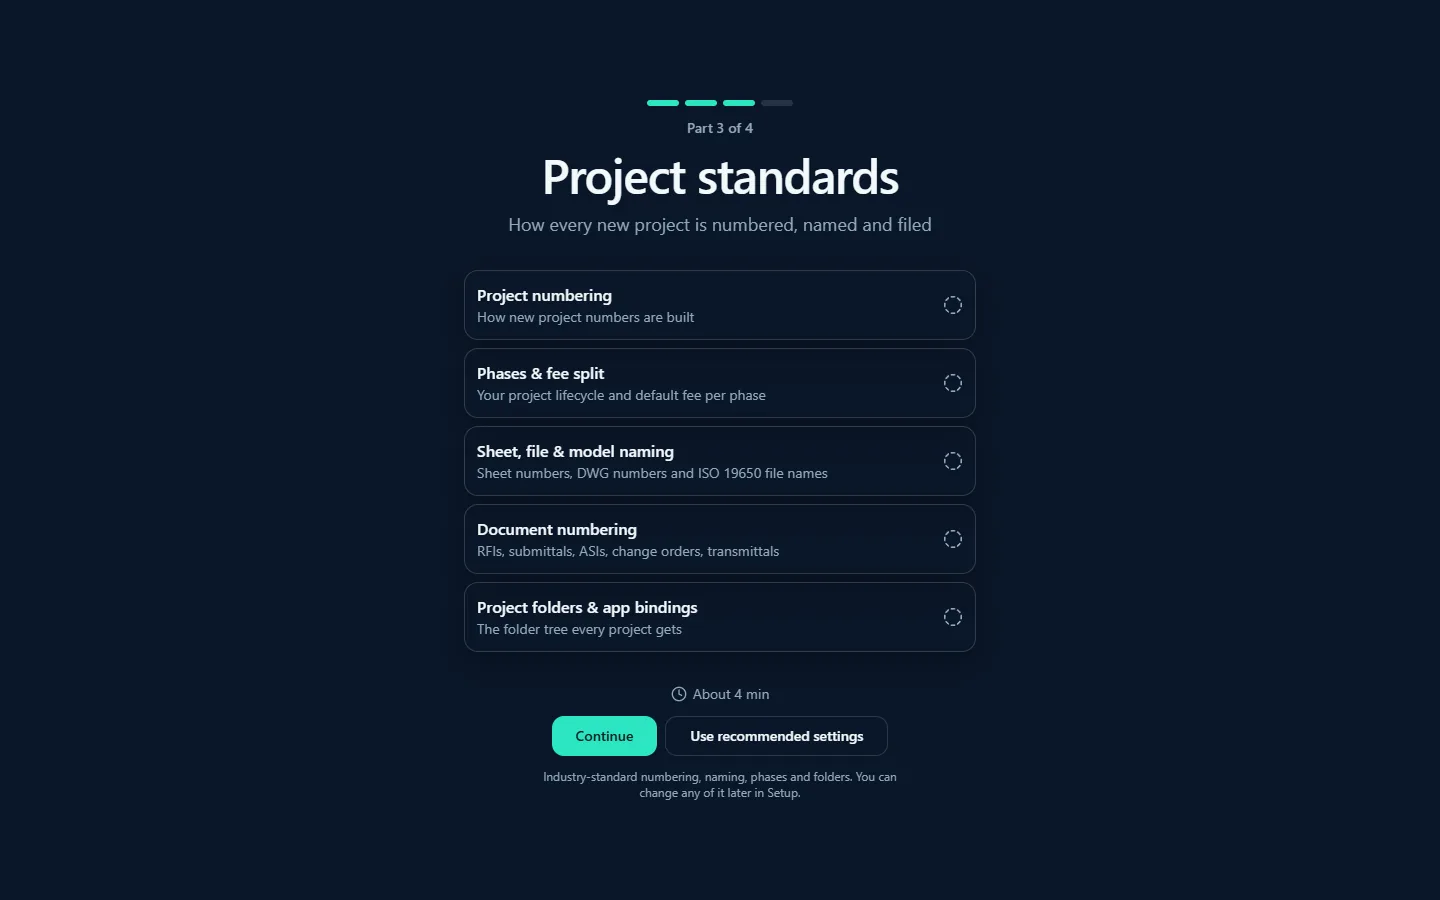
The Project standards introduction has a second button, Use recommended settings, with the note Industry-standard numbering, naming, phases and folders. You can change any of it later in Setup. Every step in this section already has sensible defaults for your country (set in step 4), so you don't have to go through them now.
- Click Use recommended settings. The button shows a spinner while it works.
- Every step of the section that you haven't already saved or skipped is marked done, keeping the defaults. Nothing you already chose is changed.
- You move straight on to the Your team introduction.
The choice is recorded in the Audit log as settings.setup_recommended, with the steps it accepted. To review or change the standards later, open Admin → Settings → Firm setup → Setup and click any of steps 7 to 11.
The other sections need your own choices, so their introductions only have Continue.
The thank-you screen
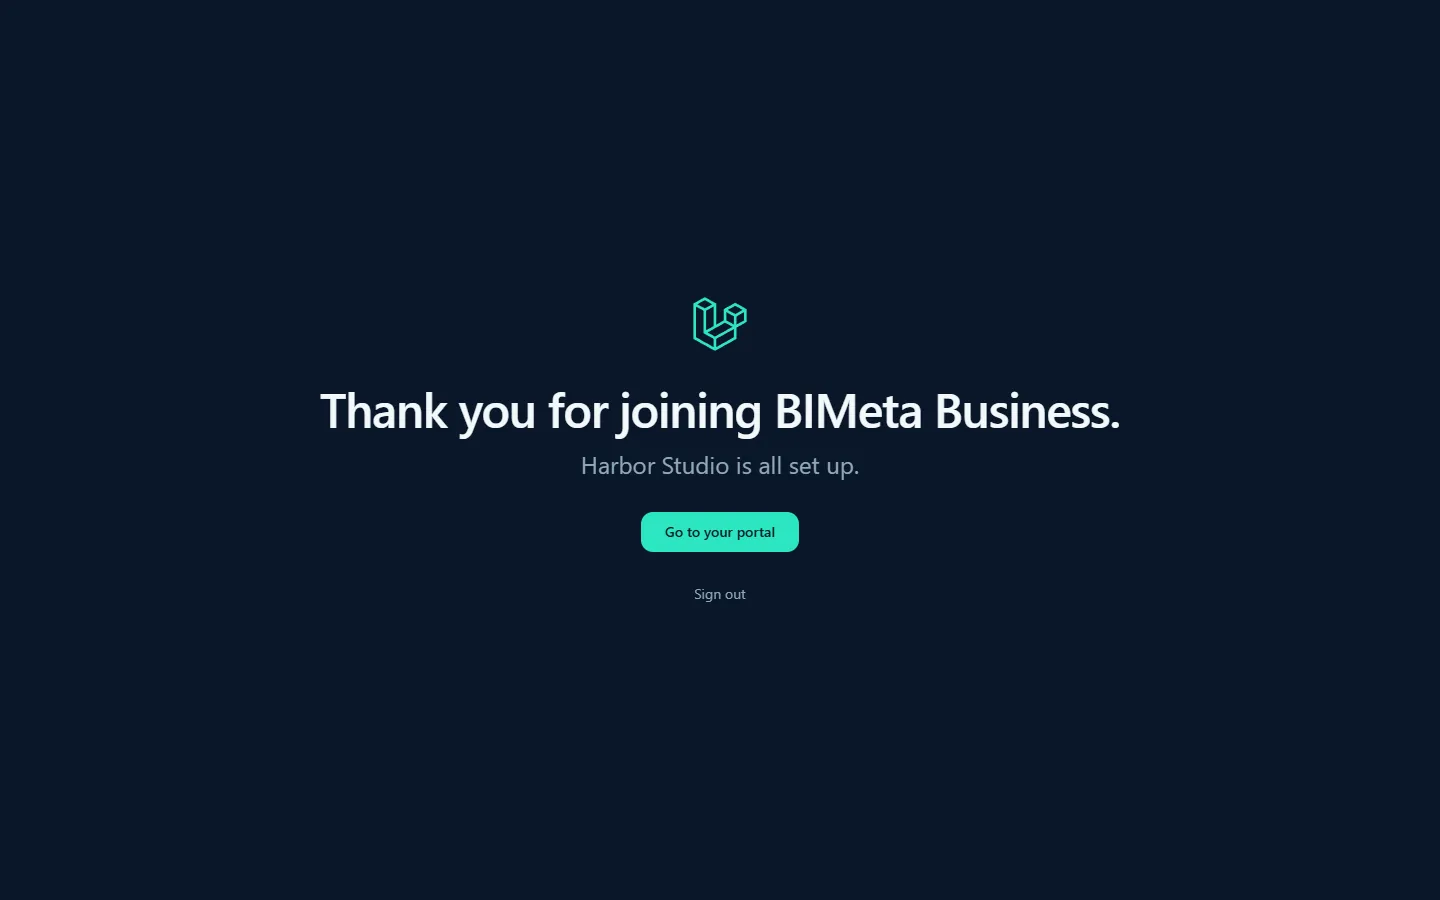
After step 13, Invite your team, onboarding is finished and you see Thank you for joining BIMeta Business.
- If your portal is ready, the line below says [Your firm] is all set up. and a Go to your portal button opens the Dashboard, now with the full sidebar.
- If your background check hasn't passed yet, it says You will be receiving your new business all set up shortly. and We email you the moment it is ready. You can close this page. The page checks every 30 seconds and shows Go to your portal as soon as the portal opens. When the check passes, the Owner also gets an email titled [Your firm] is all set up with a link to the portal.
- Sign out is always at the bottom.
Finishing onboarding is recorded in the Audit log (settings.onboarding_finished). At the same moment BIMeta applies your firm's firewall defaults, including keeping your office networks on the never-ban list.
What your team sees meanwhile
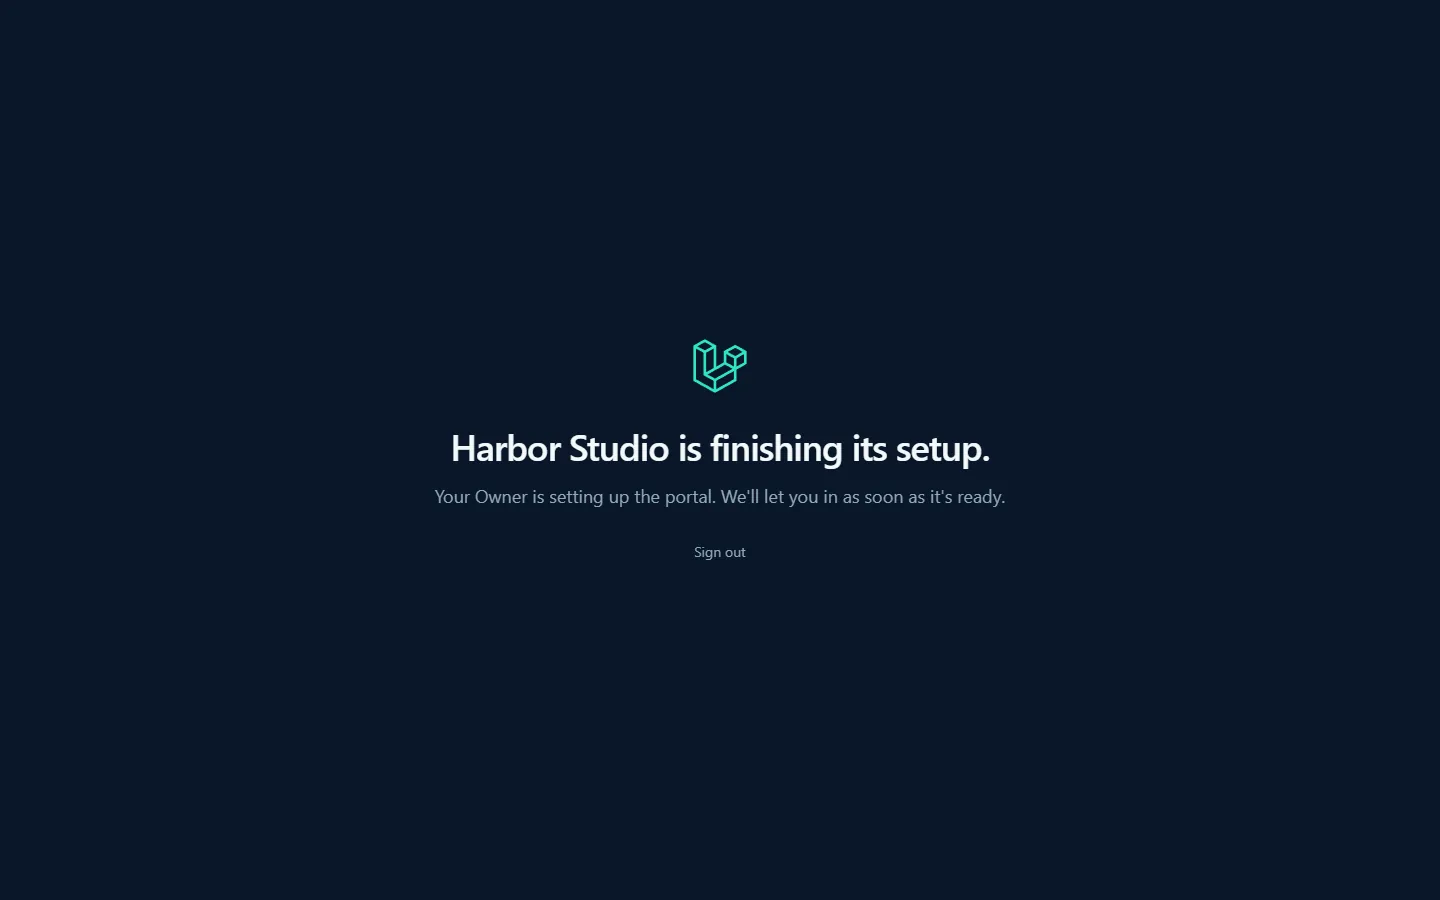
Anyone else who signs in while onboarding is still running sees [Your firm] is finishing its setup. with Your Owner is setting up the portal. We'll let you in as soon as it's ready. and a Sign out link. The page checks every 30 seconds; once onboarding is finished and the portal is open, it changes to the thank-you message with a Go to your portal button.
If the Owner signs in while onboarding is unfinished and lands on this screen, it says Pick up where you left off. with a Continue setup button.
What you can open during onboarding
While onboarding is running, only these parts of the portal open; everything else brings you back to the welcome (or, for your team, the waiting screen):
- The welcome, section introductions, Setup steps and thank-you screen.
- Billing & storage, so the Owner can manage the plan and payment.
- Your personal settings (profile, security, appearance and connected apps), your own background check if the firm asks for one, and signing out.
Tips and good to know
- Have a few things to hand before you start: your offices and their time zones, the disciplines you practise, how you number projects today, your phase names and fee split, and the folder structure you use.
- Skipping a step doesn't lose anything: the defaults apply until you change them, and you can come back to any step later under Admin → Settings → Firm setup → Setup.
- The links on step 12 (Review roles & permissions) and step 13 (Go to People & access) lead to pages that aren't open during onboarding, so they bring you back to the onboarding instead. Mark these steps done or skip them, finish onboarding, and then invite your team from Admin → Settings → People & access.
- The onboarding happens once per firm. After it's finished, Setup works as described in Setup: get your portal ready (overview, language, plan and appearance).
Troubleshooting / FAQ
I can't see the menu.
That's normal during onboarding. The sidebar appears once you've been through every step and the portal is open.
I clicked a later step and it took me back.
Onboarding goes one step at a time. Finish or skip the current step first.
I finished, but there's no Go to your portal button.
Your background check hasn't passed yet. Leave the page open (it checks every 30 seconds) or close it; you'll get an email when the portal is ready.
A colleague says they're stuck on "finishing its setup".
Onboarding isn't finished yet, or the portal is still waiting for the background check. Once it opens, they can carry on as normal.
Was this article helpful?
Share