



My time: fill in and submit your weekly timesheet
19 views · by Kevin J Bruno · updated 5 days ago
My time is your weekly timesheet. You add a row for each project (and, if you like, each project phase) you worked on, type your hours under each day, save as you go, and when the week is complete, Submit week sends it to an approver. Time that is not on a project (administration, meetings, training and so on) has its own rows, and your time off (vacation, sick days and holidays) appears under the hours automatically. Approved hours feed the firm's project fee-earned figures and can be billed on invoices, so accurate timesheets matter.
Where to find it
- Sidebar → Home → My time.
- Press Ctrl K (⌘K on a Mac), type
my timeand press Enter.
Who can use it
Anyone with the Log your own hours permission: Business Owner, Admin, IT Staff, BIM Manager, Project Manager, Human Resources and User all have it by default. Everyone sees only their own timesheet here.
Approving other people's timesheets happens on a different page, Finance → Time approvals, for people who can approve timesheets (Business Owner, Admin, Project Manager, IT Staff and BIM Manager, or a Project Manager on a particular project for that project's hours). Nobody can approve their own time.
A tour of the page
Header and week picker
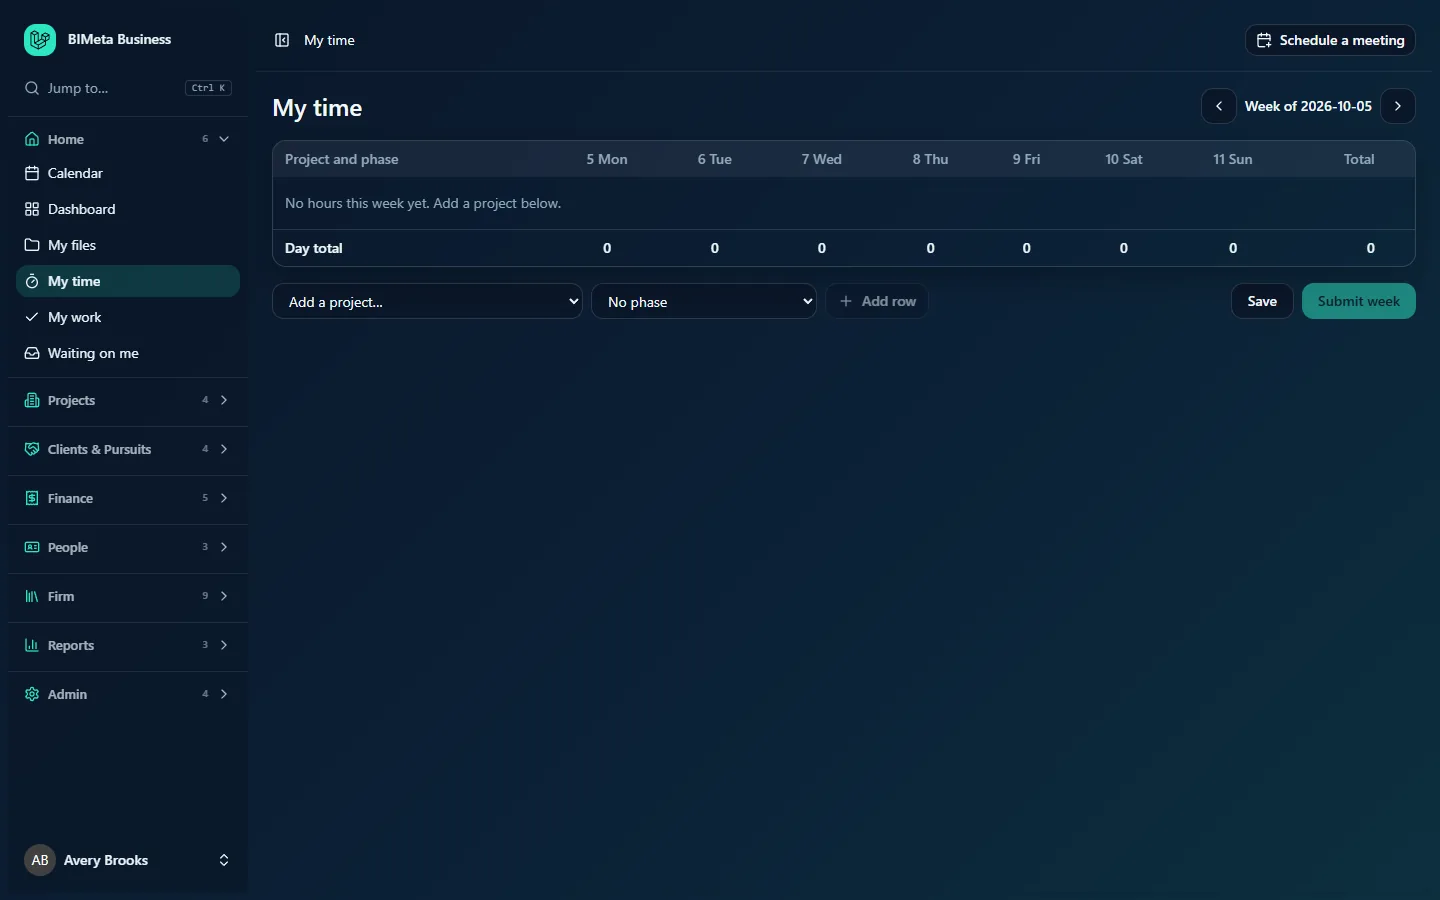
The My time heading is on the left. On the right are the week controls: a left arrow (Previous week), the label "Week of 2026-10-05" (weeks always start on a Monday), and a right arrow (Next week). The page opens on the current week.
Sent-back warning
If an approver sent this week back, a red box appears above the table: This week was sent back. Fix the hours and submit again.
Time off left
Above the table, Time off left this leave year shows a card for each type of leave: Vacation, Sick, Personal and so on. Each card shows the days you have left, how many you have earned (including days carried over) and used, and, when your length of service earns extra days, how many of the earned days are extra. A type with no limit says No limit. The numbers are the same as on People → Leave, from your firm's leave policies; use Request time off to book leave.
The timesheet table
- Project and phase: each row is one project and phase combination, for example 26-001 Riverbend Clinic Expansion with CD · Construction Documents underneath (or No phase).
- Day columns: one per day, Monday to Sunday, labelled with the date and weekday (for example 5 Mon … 11 Sun). Each cell is a box where you type hours.
- Total: the row's total hours for the week.
- Time that is not on a project: rows such as Administration or Internal meetings, labelled Not on a project, not billed. They work like project rows without a phase.
- Remove row: a bin icon at the end of the row (only shown while none of that row's days are submitted or approved).
- Day total (bottom row): the hours for each day across all rows, and the week's grand total in the last column.
- Time off (a grey section under your rows, only when you have some): your approved and requested leave and your firm's holidays for the week, as hours. You can't type in these rows. Requested leave that isn't approved yet is shown in italics with a question mark. Day total with time off adds them to your worked hours.
Cells for days that have been submitted or approved are greyed out and can't be changed. When the week has no hours yet, the table says No hours this week yet. Add a project, or a kind of time that is not on a project, below.
Controls under the table
- Add a project…: a drop-down of every active project you can see, newest numbers first, followed by a Not on a project group: Administration, Internal meetings, Training and learning, Business development, Marketing and Other overhead.
- Phase: a drop-down of your firm's phases ("code · name") plus No phase. When you pick a project, it jumps to that project's current phase; change it if your hours belong to a different phase. It is hidden when you pick a kind of time that is not on a project.
- Add row: adds the chosen project and phase as a new row. It's greyed out until you pick a project.
- Waiting for approval: a badge shown when some of the week's hours are submitted and waiting for an approver.
- Approved: a badge shown when some of the week's hours have been approved.
- Save: saves your hours without submitting them.
- Submit week: saves, then sends the week for approval. Greyed out while the table is empty.
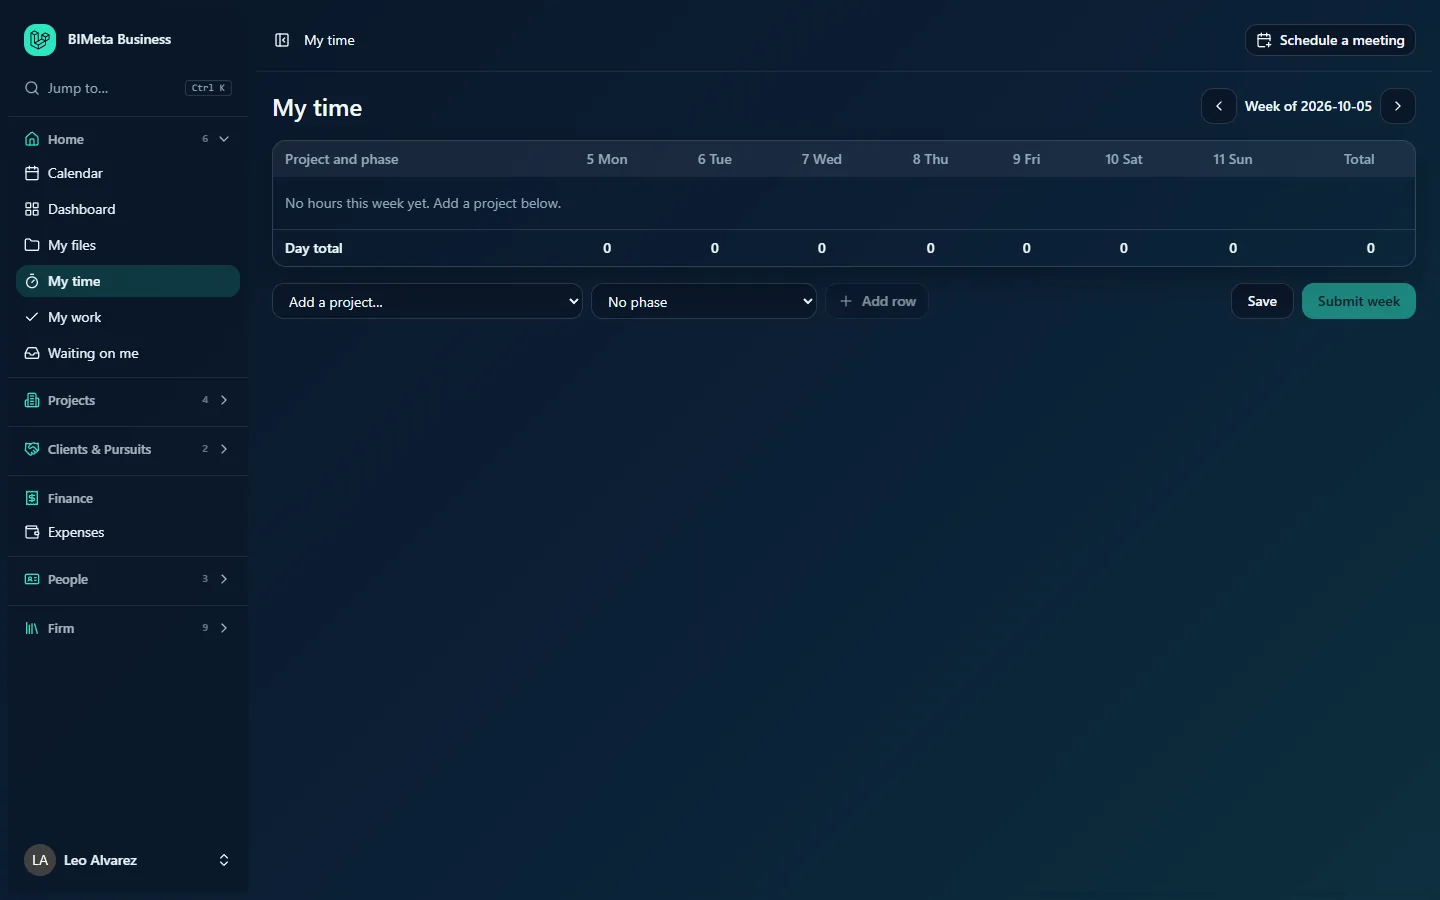
Here is the same page for a User at the example firm Northlight Architects. The page is identical for every role:
How to …
Fill in your week
- Open My time. It shows the current week; use the arrows if you're filling in a different one.
- In Add a project…, choose the project. Check the Phase drop-down (it defaults to the project's current phase) or choose No phase.
- Click Add row. Repeat for every project and phase you worked on. Adding the same project and phase twice does nothing; the existing row is kept.
- Click into a day's box and type the hours as a decimal number, for example
7.5for seven and a half hours (a comma,7,5, also works). Leave a box empty, or type0, for no hours. - Move to the next box (Tab or click). The row and day totals update when you leave a box.
- Click Save. You'll see Hours saved. Your hours are now stored as a draft that only you can change.
Rules: hours are stored to the nearest minute; a single box can hold 0 to 24 hours; a week can have up to 50 rows. You can only log time on projects you can see. Each saved entry also records your bill and cost rates for that date (set by your firm in Admin → Settings → Rates), which is what the fee-earned and invoicing figures use.
Log time that is not on a project
- In Add a project…, scroll to the Not on a project group and choose the kind of time, for example Administration.
- Click Add row, then type your hours and Save, exactly as for a project.
This time is part of your worked hours: it is included in your weekly total, in payroll hours and in the firm's utilisation figures, but it is never billable and never goes on a client invoice. It is submitted with the rest of your week.
See your time off
Under your rows, the Time off section shows leave you have requested or had approved, and the holidays on your firm's calendar, in hours (half days and half-day holidays count as half). It is read from People → Leave and the holiday calendar, not typed in, so a day is never counted twice. To take time off, use Request time off under the table, which opens the leave page.
Submit the week for approval
- Check the Day total row and the grand total.
- Click Submit week. Your hours are saved first, then every draft (or sent-back) entry for the week is submitted.
- You'll see Week submitted for approval. The cells turn grey and read-only, and the Waiting for approval badge appears.
- Your week now shows up for approvers on Finance → Time approvals and adds one to their Timesheets to approve dashboard card. Submitted hours are recorded in the firm's audit log.
If there's nothing new to submit, you'll see There are no hours to submit for this week.
Fix a week that was sent back
- Open the week (look for the red This week was sent back box). Sent-back days become editable again.
- Correct the hours. The approver has to say what needs changing when they send a week back; if you're not sure what to fix, ask them.
- Click Submit week again.
Add hours after submitting
Submitted and approved days are locked, but you can still add new hours to the same week, on a new row or on days that are still empty. Save, then Submit week again; only the new draft hours are submitted. A badge can show both Waiting for approval and Approved when a week is partly approved.
Remove a row or delete hours
- Click the bin icon at the end of the row (shown only if none of its days are submitted or approved), or clear the individual boxes.
- Click Save. Days saved as 0 are deleted.
Tips and good to know
- Save often. Nothing is stored until you click Save or Submit week. If you leave the page or switch weeks first, unsaved changes are lost.
- Locked means locked. Once a day is submitted you can't change it unless an approver sends the week back. Ask your approver if you spot a mistake after submitting.
- Phases matter for fee tracking. Time logged against the right phase lets the firm compare hours spent with the fee for each phase on Reports → Fee earned, which counts submitted and approved hours.
- Approved hours can be invoiced. Approved, billable hours can be pulled onto a client invoice in Finance → Invoices.
- Time off isn't typed in here. Request it on People → Leave (or with Request time off under the table). Once it is approved it shows in the Time off section by itself.
Troubleshooting / FAQ
Why can't I type in the Vacation, Sick or holiday rows?
Those rows come from your leave requests and your firm's holiday calendar. To change them, change the leave request on People → Leave.
Why can't I type in some boxes?
Those days are submitted or approved, so they're locked. If something needs correcting, ask your approver to send the week back.
The project I worked on isn't in "Add a project…".
Only active projects you can see are listed. If the project is archived or you don't have access to it, ask your Project Manager or an Admin.
"Submit week" is greyed out.
The table has no rows yet. Add at least one project row and some hours first.
I entered 8:30 and got the wrong number.
Type hours as decimals: 8.5 for eight and a half hours, 0.25 for fifteen minutes.
Was this article helpful?
Share