


Detail library: approved details by discipline
18 views · by Kevin J Bruno · updated 20 hours ago
The Detail library holds the firm's approved construction details, filed by discipline: Revit drafting views, detail items and CAD details. It works like the Family library: BIM Managers add details and upload new versions, someone else approves each version, and staff then search and download the approved details. The same approved details appear behind the BIMeta add-in for Revit's five Details buttons (Architectural, Structural, Mechanical, Electrical, Plumbing), so people can place firm details straight from Revit.
Where to find it
- Sidebar → Admin → BIM Manager, then Detail library in the Standards and content card.
- Sidebar → Firm → Family library, then the Detail library link next to the page title. This is how Users get there.
- Jump to… (Ctrl K): type
detail library.
Who can use it
Everyone in the firm can open the Detail library, but they see different things:
- Users (and anyone who can't manage or approve) see only details that have an approved version, and can search and download them.
- IT Staff also see versions waiting for approval and can Approve them (never their own).
- The Business Owner, BIM Manager and Admin can also Add a detail, upload a New version and approve other people's uploads.
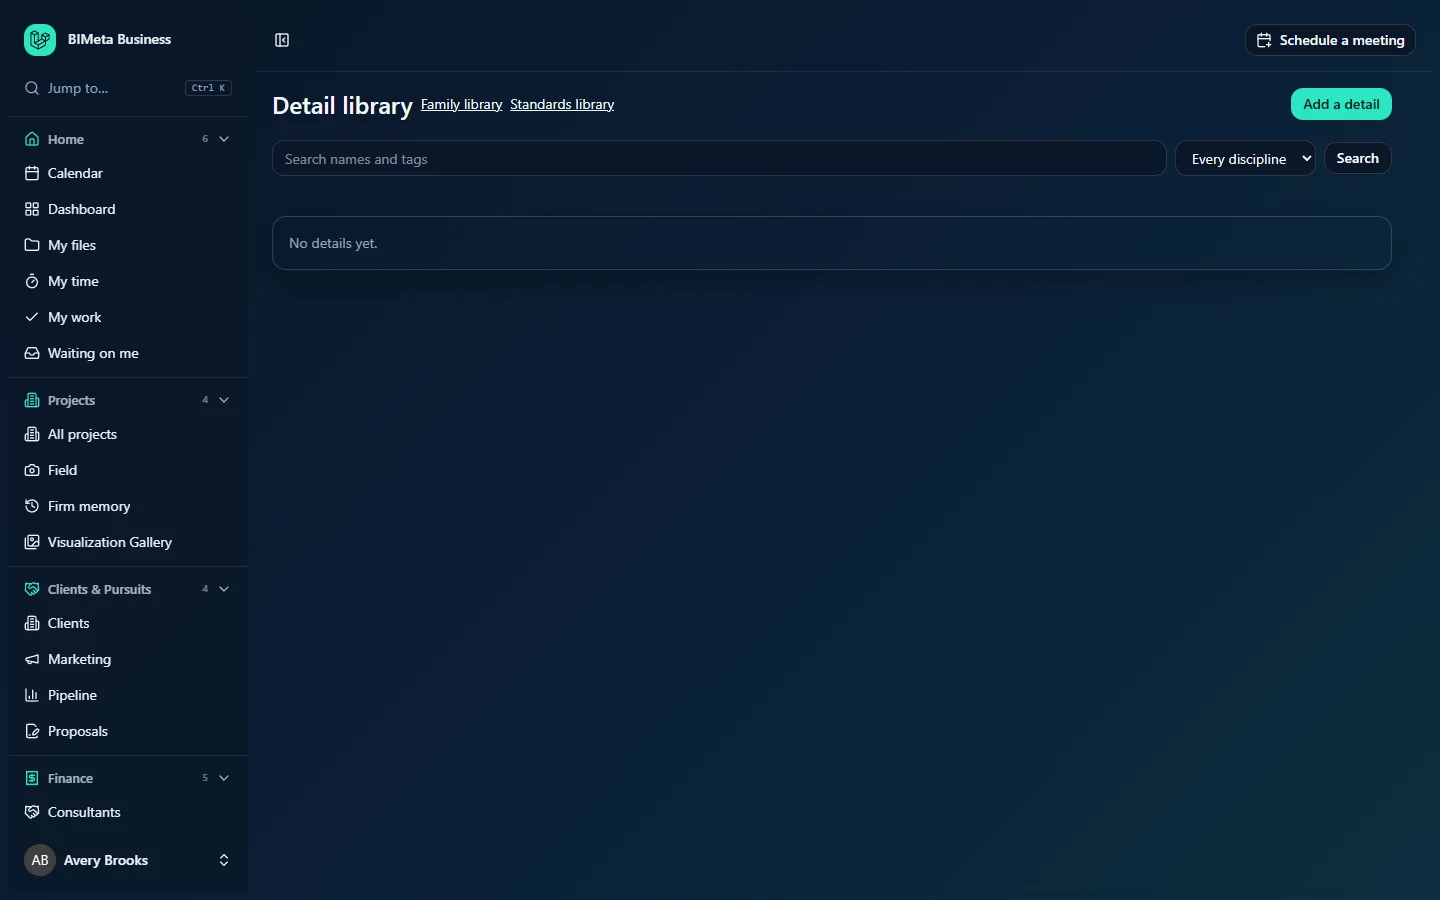
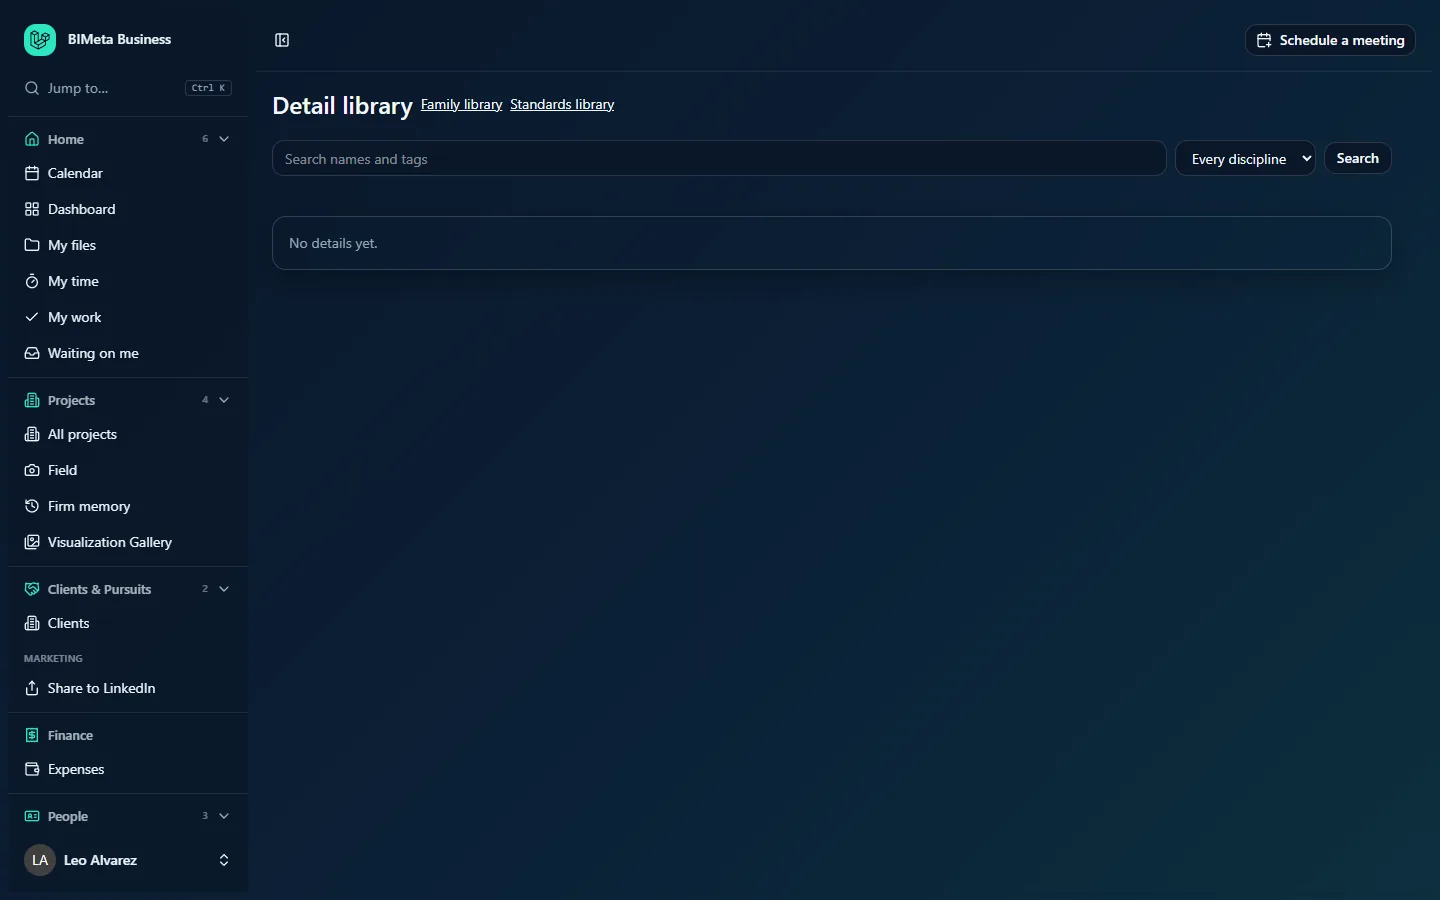
The screenshot shows the empty library at the example firm Northlight Architects, as the Business Owner sees it. A User sees the same page without Add a detail:
A tour of the page
Header
- Detail library, followed by links to the Family library and the Standards library (the Standards library opens only for people who can see the BIM Manager panel).
- Add a detail (managers only): opens the add form.
Search bar
- Search names and tags: finds details whose name, tags or description contain your text. Press Enter or click Search.
- The discipline list: Every discipline, Architectural, Structural, Mechanical, Electrical or Plumbing. Choosing one filters immediately.
Detail cards
Details are sorted by discipline, then name. Each card shows:
- The detail's name and discipline, for example Parapet at roof edge · Architectural.
- Download vN (.rvt): downloads the newest approved version, with its file type. If no version is approved yet, a Waiting for approval badge appears instead (managers and approvers only see these).
- The description and tags. Click a tag to search for it.
- For managers and approvers, the version list: vN, the Revit year it was saved in (if a Revit file), the size and the uploader, then Approved, an Approve button, or Waiting for approval.
- For managers, New version: opens a small upload form.
When the library is empty it says No details yet.; when a search finds nothing, Nothing matches.
How to add a detail
- Click Add a detail.
- Name (required, up to 160 characters), for example Parapet at roof edge. Names must be unique among details; for an existing detail, upload a new version instead.
- Discipline (required): which Details button it belongs to.
- Tags, separated by commas (optional, up to 300 characters), for example
roof, waterproofing. - Saved in Revit: the Revit year the file was saved in, or Not a Revit file for a DWG.
- Description (optional): up to 1,000 characters.
- Detail file (.rvt drafting views, .rfa or .dwg) (required, up to 200 MB). The file is checked to be a genuine Revit project, Revit family or DWG drawing.
- Click Add detail (or Cancel). The detail and its first version (v1) are created together. You'll see "Detail added. Someone else approves it before staff see it."
How to upload a new version
- On the detail's card, click New version.
- Choose the file and the Saved in Revit year (or Not a Revit file).
- Click Upload. The version number goes up by one. Staff keep getting the previous approved version until the new one is approved.
How to approve a version
- Find the version with an Approve button and check its details (Revit year, size, uploader) with the person who uploaded it.
- Click Approve. It becomes Approved, the Download button switches to it, it reaches staff and the add-in's Details buttons, and the approval is recorded in the audit log.
How to download a detail
- Search or pick a discipline.
- Click Download vN on the card. Downloads are logged.
In Revit, the add-in's Details buttons offer the same approved details by discipline, without downloading by hand.
Tips and good to know
- The approver must be a different person from the uploader.
- Choose the discipline carefully: it decides which Details button shows the detail, and there's no way to change it on the page afterwards.
- Version numbers are counted for you (v1, v2, …); the newest approved one is what people get.
- The add-in's Details buttons can also list network folders of details. Those are set on the Revit add-in page under Detail libraries.
- For Revit families (doors, furniture and so on) use the Family library; for templates and title blocks use the Standards library.
Troubleshooting / FAQ
Why can't staff see a detail I added?
It has no approved version yet. Ask another BIM Manager, IT Staff, an Admin or the Owner to approve it.
Why is there no Approve button on my upload?
You can't approve your own upload.
My file was refused.
Only .rvt, .rfa and .dwg files up to 200 MB are accepted, and the file must really be that type (a renamed file is refused).
Was this article helpful?
Share