Setup steps 6, 12 and 13: modules, roles and inviting your team
18 views · by Kevin J Bruno · updated 5 days ago
Three steps of Setup are checkpoints rather than forms. Step 6, Modules & integrations (in the Your firm section) lists what your plan includes. Step 12, Roles & permissions and step 13, Invite your team make up the last section, Your team: they point you to the permission matrix so you can check who can do what, and to People & access to invite everyone. Clicking Save and continue on each simply marks it done.
Where to find it
Sidebar → Admin → Settings → Firm setup → Setup, then 6. Modules & integrations, 12. Roles & permissions or 13. Invite your team.
Who can use it
Business Owners and Admins. The pages they link to have their own rules: Admins can edit roles but can't give every role (see People & access: invite people and manage their accounts).
Step 6: Modules & integrations
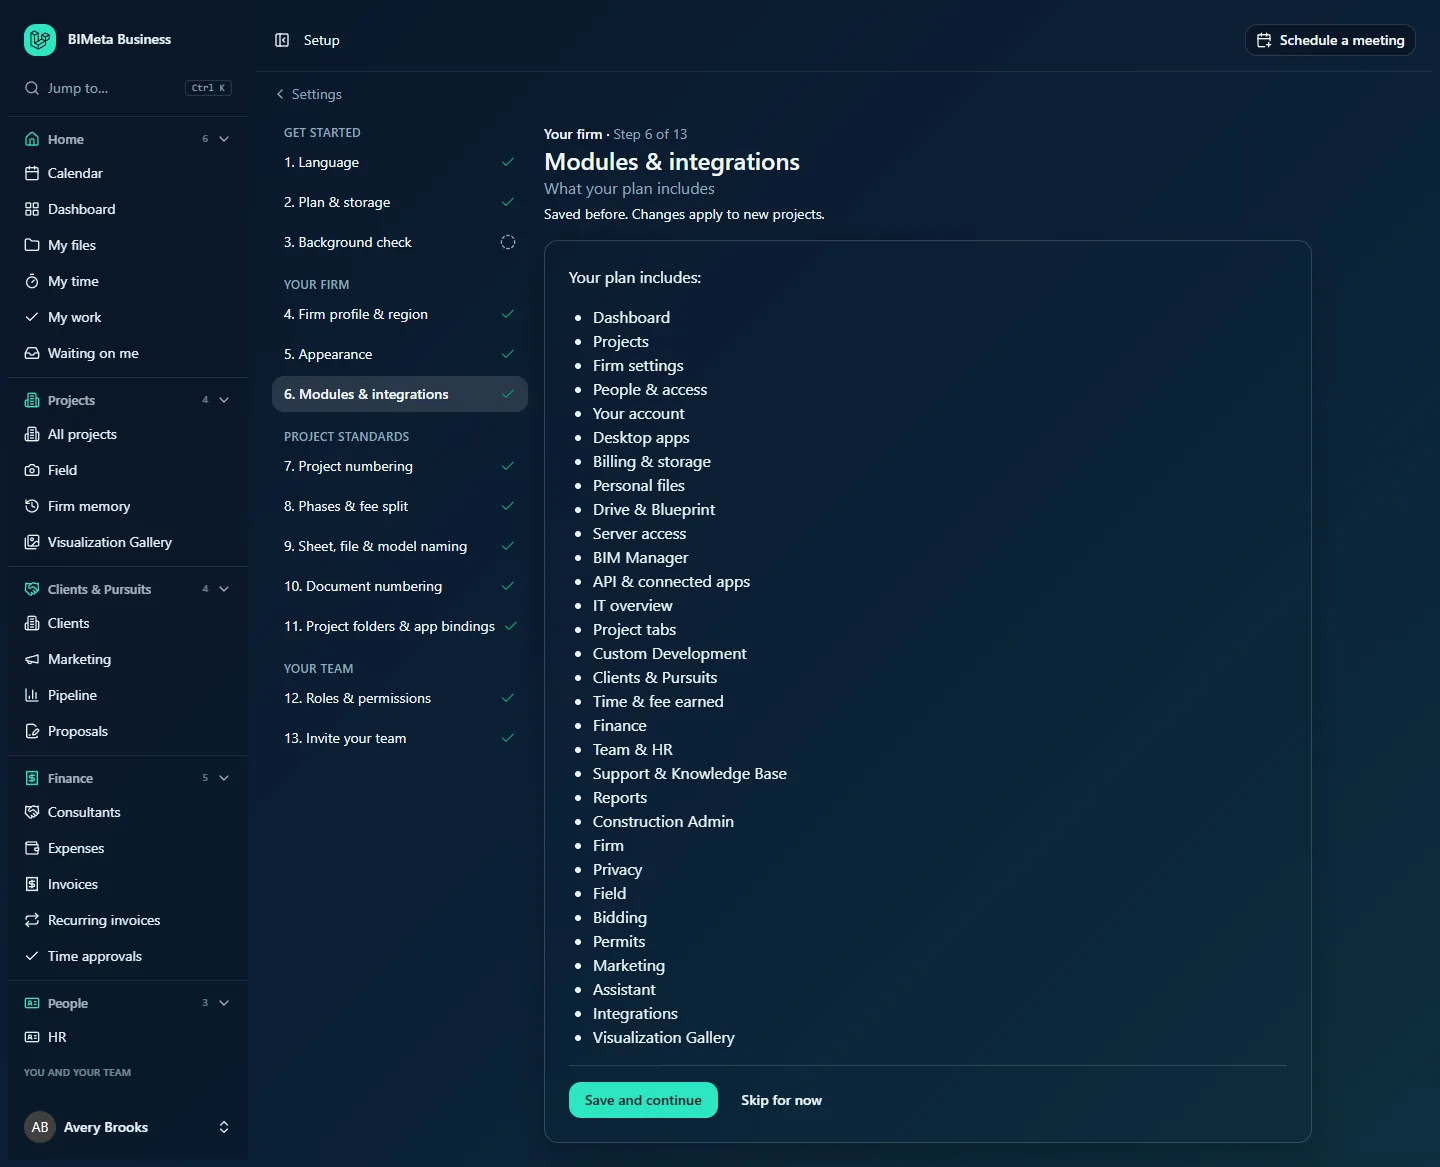
The step is headed Your firm · Step 6 of 13. It shows Your plan includes: followed by a list of every part of BIMeta Business switched on for your firm. For Northlight Architects that's Dashboard, Projects, Firm settings, People & access, Your account, Desktop apps, Billing & storage, Personal files, Drive & Blueprint, Server access, BIM Manager, API & connected apps, IT overview, Project tabs, Custom Development, Clients & Pursuits, Time & fee earned, Finance, Team & HR, Support & Knowledge Base, Reports, Construction Admin, Firm, Privacy, Field, Bidding, Permits, Marketing, Assistant, Integrations and Visualization Gallery.
The list is read-only. Parts not listed aren't in your plan: their pages don't appear, and their permissions grant nothing. To connect outside systems such as Outlook, QuickBooks Online or Procore, use Admin → Settings → Integrations. Click Save and continue to mark the step done and move on to the Project standards section, starting with step 7, Project numbering.
Step 12: Roles & permissions
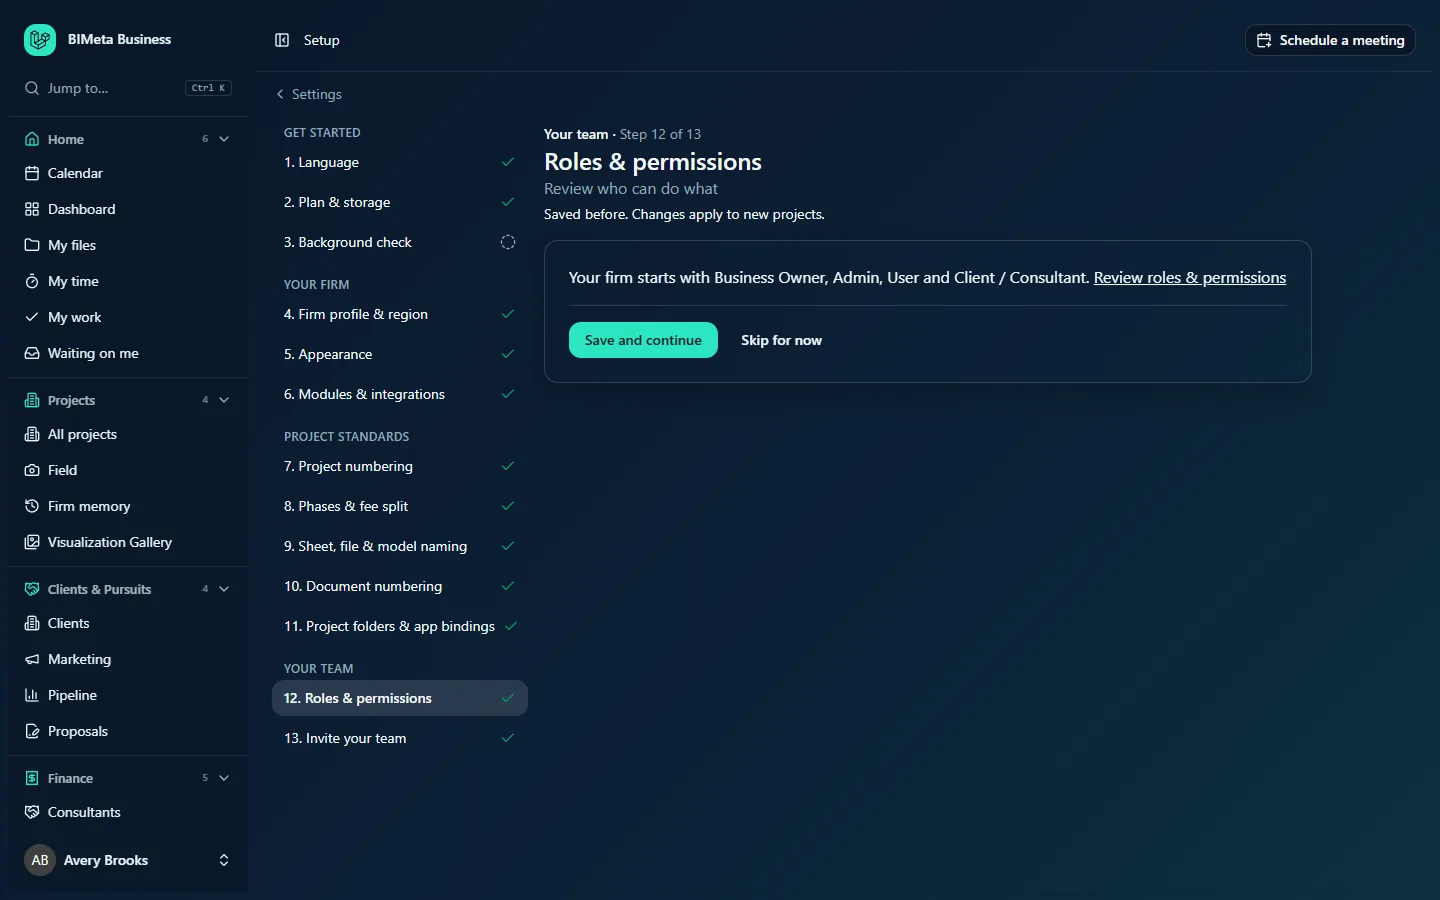
The step is headed Your team · Step 12 of 13. It shows a short line about the roles your firm starts with and a Review roles & permissions link. The line on screen mentions Business Owner, Admin, User and Client / Consultant; in fact a new firm starts with eight roles: Business Owner, Admin, Project Manager, IT Staff, BIM Manager, Human Resources, User and Client / Consultant.
- Click Review roles & permissions to open the matrix (see Roles & permissions: the permission matrix). You can also open it any time from Admin → Settings → People and access → Roles & permissions.
- Check that the standard roles suit your firm; create or adjust roles if needed.
- Come back to Setup and click Save and continue on step 12.
Step 13: Invite your team
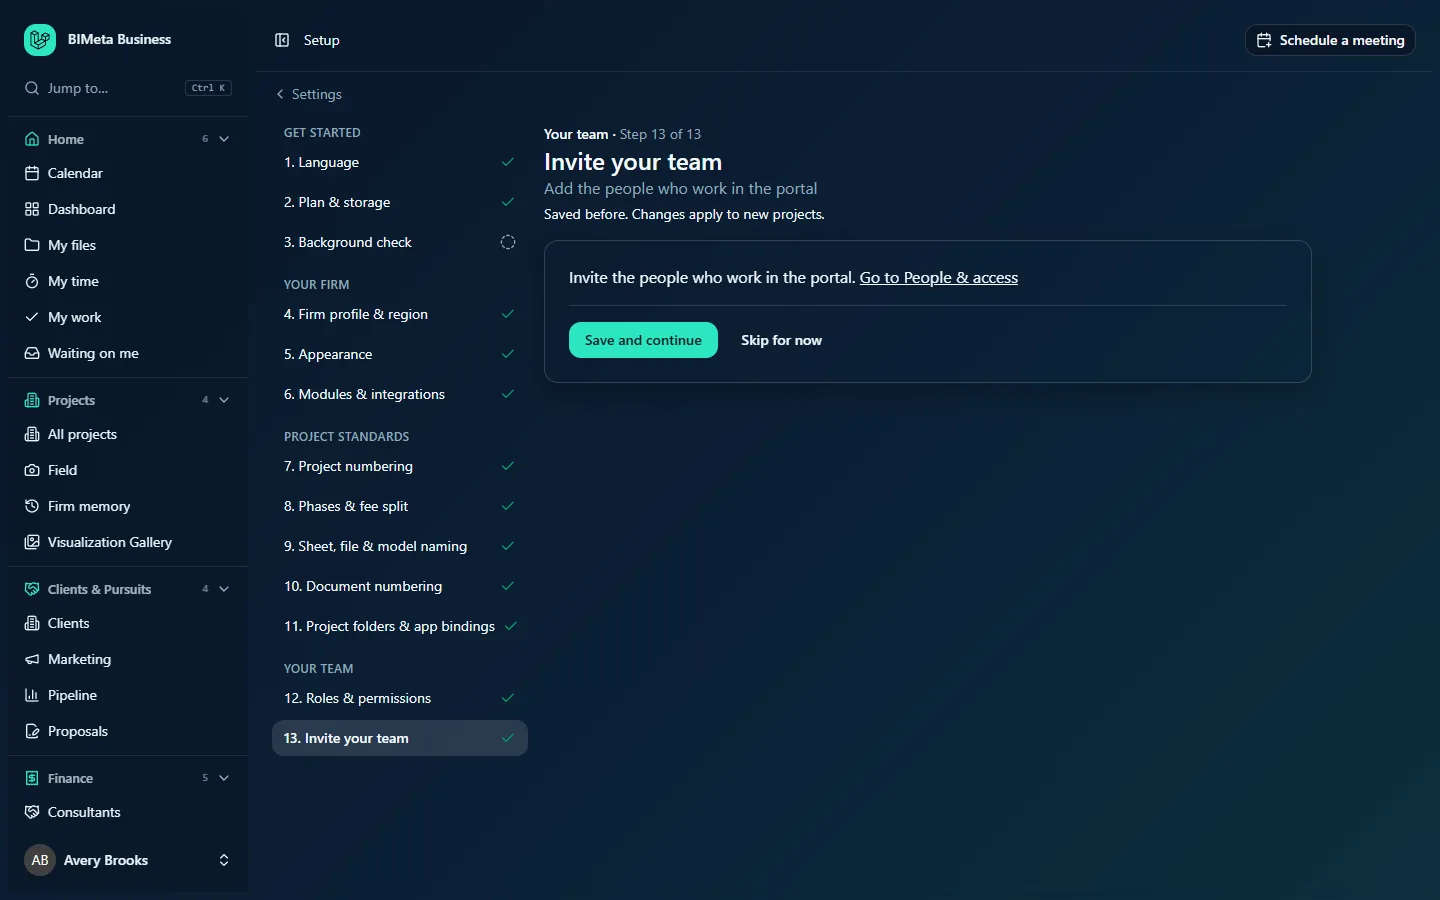
Invite the people who work in the portal. and a Go to People & access link.
- Click Go to People & access (also on the Settings page under People and access).
- Invite people one at a time with Invite someone, or many at once with Admin → Settings → Import from CSV (choose People).
- Come back to Setup and click Save and continue. As the last step, this returns you to the overview with Setup finished. You can change any step here later. During a new firm's guided onboarding it opens the thank-you screen instead.
Tips and good to know
- During a new firm's guided onboarding, the Review roles & permissions and Go to People & access links can't open their pages yet (they bring you back to the onboarding). Save or skip both steps, finish onboarding, then review roles and invite people from the Settings page. See Guided onboarding: your firm's first sign-in.
- Invite a second Business Owner early, so the firm is never dependent on one person.
- If you plan to use single sign-on, set it up under Admin → Settings → Single sign-on before inviting everyone: people can then accept their invitation just by signing in with their company account.
- Marking these steps done doesn't change anything by itself; it just clears them from the Finish setting up card on the Dashboard.
- These steps used to be numbered 10 to 12. Since Setup was grouped into sections, Modules is step 6 and the two team steps are 12 and 13.
Troubleshooting
A module I expected isn't in the list.
It isn't part of your plan. A Business Owner can review the plan under Admin → Settings → Billing & storage, or contact BIMeta.
Review roles & permissions takes me back to the welcome screen.
Your firm is still in its guided onboarding, when only Setup is open. Finish onboarding first, then open Roles & permissions from the Settings page.
Was this article helpful?
Share