This button is crucial for the average team player. With this tool, the user will be able to continuously work without any worry of loss of work. This procedure is applicable in Revit 2018 to the current release.
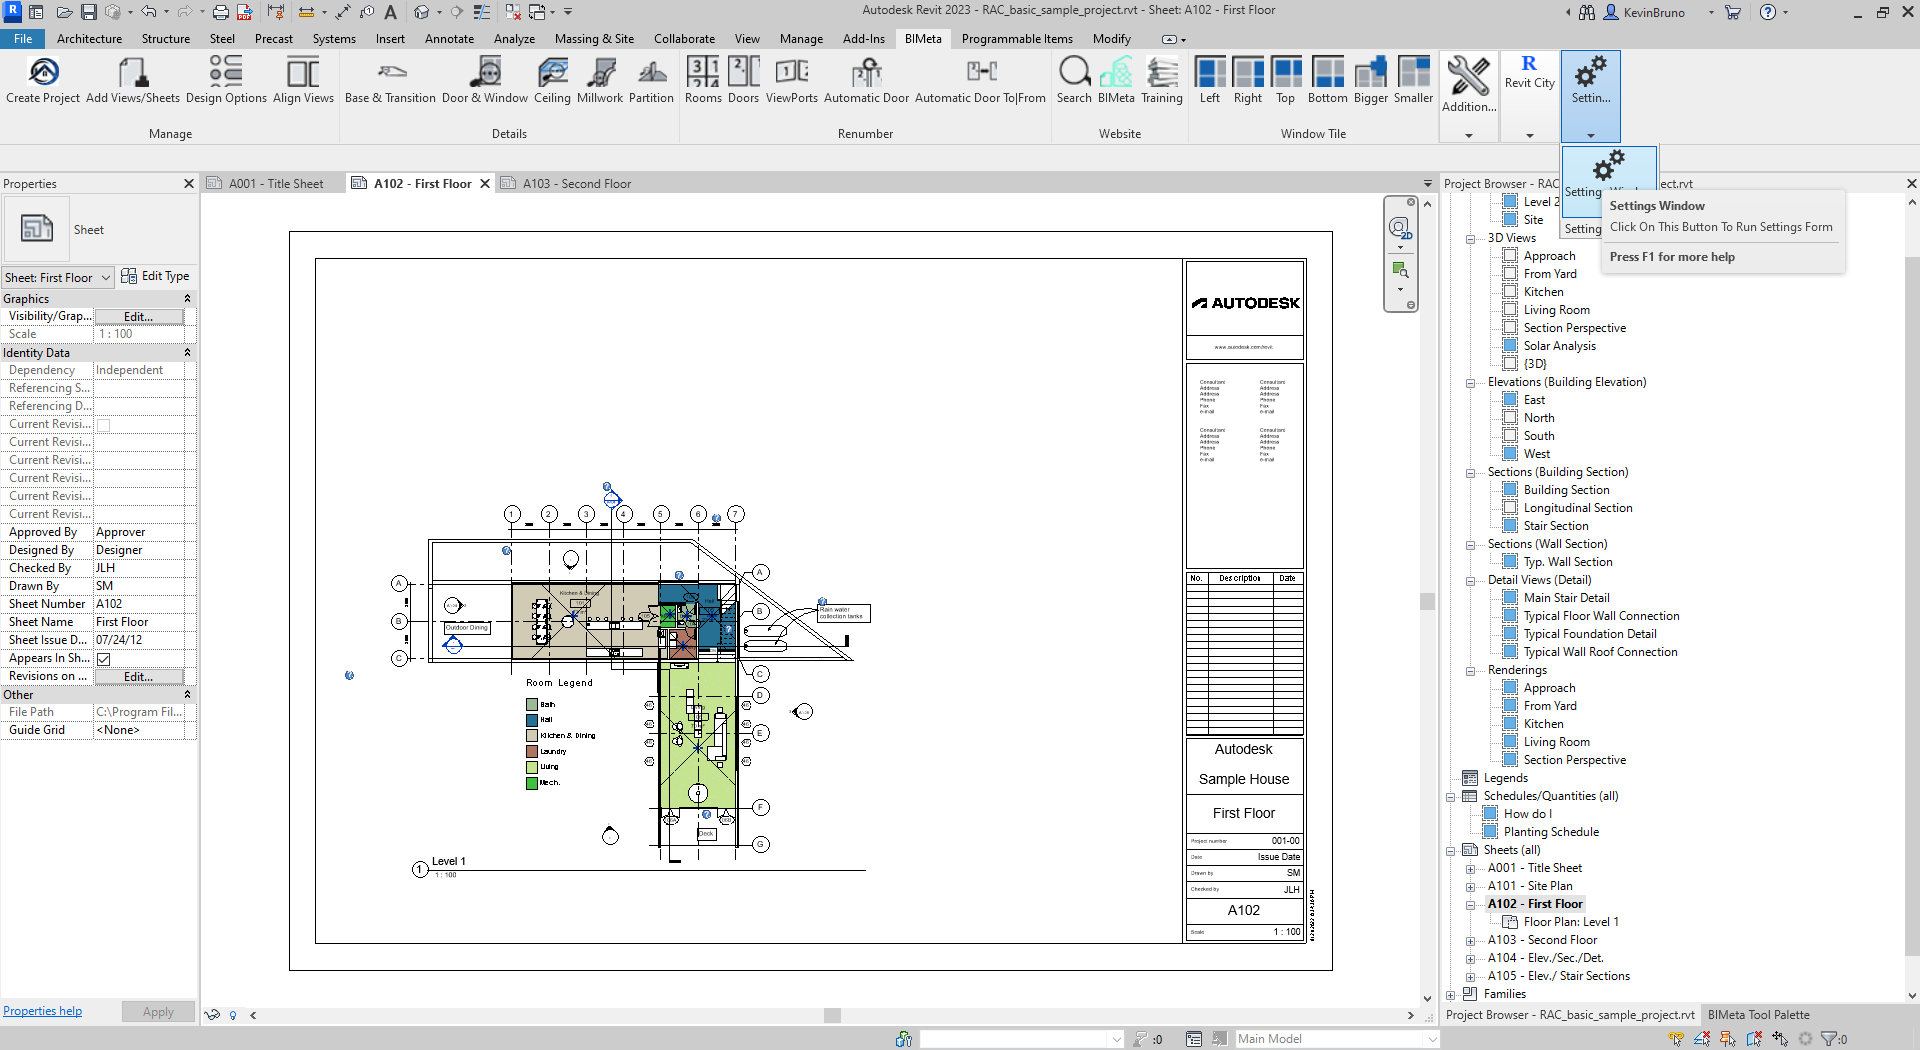
Step 1: To begin, navigate to the BIMeta tool bar and click on the Setting Window. Please note: You will need to set up a central file and enable work-sharing. To do so, follow the instructions of the following link:
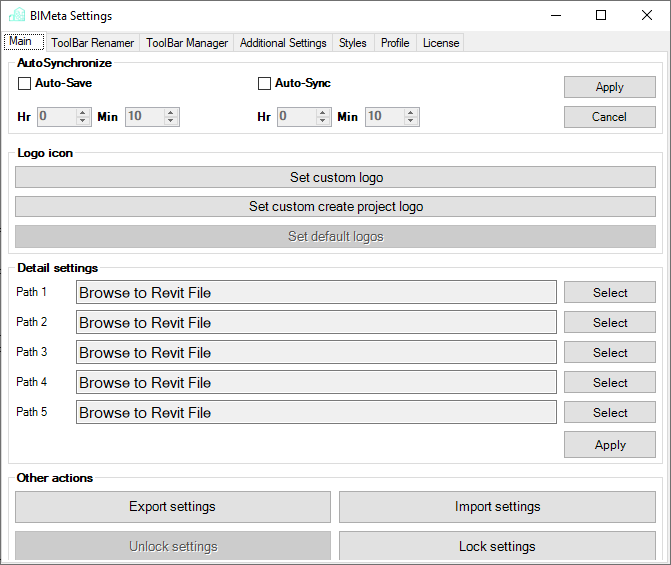
Step 2: Once you have clicked on the Setting Window, you can then select the timeframe and whether you want the settings to apply. Finally, click apply for the settings to take place. Please note that the synchronization will only occur if you are not already in a Revit Transaction. Otherwise, you may see an error prompt.